You’ve been throwing food scraps in the council bin, feeling vaguely guilty about it, and wondering whether composting is worth the effort. A standard compost bin takes months to produce anything useful and needs a garden corner you might not have. A wormery works differently — a colony of composting worms eats your kitchen waste and converts it into rich, concentrated compost and liquid fertiliser in weeks, not months. It fits on a balcony, in a garage, or under the kitchen sink. And it barely smells if you manage it properly.
This guide covers the best wormeries available in the UK for 2026, what to look for, and how to get started without killing your worms in the first fortnight.
In This Article
- How a Wormery Works
- Stacking Tray vs Continuous Flow Wormeries
- Best Wormeries for Outdoor Use
- Best Wormeries for Indoor Use
- Best Budget Wormeries
- What Worms Eat and What They Don’t
- Setting Up Your Wormery
- Harvesting Compost and Liquid Feed
- Common Wormery Problems and Fixes
- Wormery vs Compost Bin: Which Is Better?
- Wormeries for Flats and Small Spaces
- Frequently Asked Questions
How a Wormery Works
A wormery is a contained system where composting worms — typically red wigglers (Eisenia fetida) or dendrobaenas — break down food waste into vermicompost. Unlike garden earthworms, these species live in organic matter rather than soil, eat half their body weight in food per day, and reproduce quickly in confined spaces.
The Two Products
A working wormery produces two things:
- Vermicompost (worm castings) — dark, crumbly, nutrient-dense compost that’s richer than standard compost. You use it as a soil conditioner, potting mix additive, or top dressing for plants
- Worm tea (leachate) — liquid that drains through the wormery and collects in a sump at the bottom. Dilute it 10:1 with water and use it as liquid plant feed. It’s packed with beneficial microorganisms and nutrients
Why It’s Faster Than Composting
Traditional composting relies on bacteria breaking down material over 6-12 months. Worms process the same material in 2-3 months because they physically eat and digest the waste, passing it through their gut and excreting nutrient-rich castings. The worm gut adds beneficial bacteria that standard composting doesn’t produce.
Temperature Range
Composting worms work best between 15-25°C. Below 10°C, they slow down. Below 5°C, they stop eating and huddle together for warmth. Above 30°C, they overheat and can die. This temperature range makes UK conditions workable for most of the year, but extreme summer heat and winter freezes need managing. The Royal Horticultural Society recommends moving outdoor wormeries to a shaded spot in summer and an insulated position (against a house wall, in a garage) in winter.
Stacking Tray vs Continuous Flow Wormeries
Stacking Tray Systems
The most popular design in the UK. Multiple trays stack vertically with mesh bottoms. You add food to the top tray. Worms eat through it and migrate upward through the mesh as you add fresh trays on top. The bottom tray, once the worms have left it, contains finished compost ready to harvest. You remove the bottom tray, empty the compost, and place the empty tray back on top as the new feeding tray.
Advantages: easy to harvest, clear separation between fresh waste and finished compost, widely available.
Disadvantages: trays can be fiddly to align, the system gets heavy when full, and the worms sometimes take their time migrating upward.
Continuous Flow Systems
A single large container where you add food to the top and harvest compost from the bottom. The worms naturally work near the surface where fresh food is, leaving finished compost below. A grate or hatch at the bottom lets you scrape out the finished material.
Advantages: simpler design, fewer parts, larger capacity.
Disadvantages: harder to know when the bottom compost is truly finished, less separation between active and completed zones, typically more expensive.
Best Wormeries for Outdoor Use
Maze Worm Farm (About £75-95)
The most popular outdoor wormery in the UK. A stacking tray system with four working trays, a collection sump with a tap for liquid feed, and a lid. Made from recycled plastic. Capacity handles the food waste of a 2-4 person household. The trays are well-designed with good ventilation and easy alignment. Available from garden centres, Amazon, and direct from Maze.
This is the one to buy if you want a reliable, proven system that thousands of UK gardeners use. It’s not the cheapest, but the build quality and capacity justify the price.
Hungry Bin (About £200-250)
The premium option. A continuous flow design shaped like an inverted cone — wide at the top for feeding, narrow at the bottom where finished compost collects. The tapered shape means worms naturally concentrate at the top where the food is, and finished castings compress at the bottom for easy collection.
The Hungry Bin is more expensive than stacking systems but handles more waste (up to 2kg per day once established) and is genuinely easier to harvest. The downside is the price and the size — it’s a substantial unit that needs dedicated floor space.
Worm City (About £50-70)
A budget-friendly stacking tray system with three working trays. Smaller than the Maze, so better suited to 1-2 person households or those generating less food waste. The build quality is adequate but not as sturdy as the Maze — the plastic feels thinner and the trays don’t stack as securely. A solid entry-level choice if you’re not sure whether vermicomposting is for you.
Best Wormeries for Indoor Use
Urbalive Worm Composter (About £85-120)
Designed specifically for indoor use. A sleek, compact stacking tray system that looks more like a storage container than a composting unit. Available in several colours (green, grey, ivory) and small enough to fit under a kitchen counter or in a utility room. The tight-fitting lid and good ventilation design mean odour is minimal when managed correctly.
The Urbalive is the best indoor option because it’s purpose-designed for living spaces — the aesthetics, the size, and the odour management all work for indoor placement. Comes with a coir block for bedding and detailed setup instructions. For a related angle, see our How to Grow Tomatoes in the UK (Greenhouse & Outdoor) guide.
Bokashi + Wormery Combination
Some indoor composters use a two-stage approach: a Bokashi bin ferments food waste (including meat and dairy that worms can’t handle) for two weeks, then the fermented material goes into a small wormery. This lets you process a wider range of kitchen waste indoors. The Garden Organic charity has guides on combining these two systems for maximum waste diversion.
Best Budget Wormeries
DIY Stacking Bin System (Under £20)
Three stacking storage boxes from any hardware shop (Wilko, B&Q, or The Range — about £5 each). Drill drainage holes in the bottom of the top two boxes. The bottom box collects liquid. Stack them, add bedding and worms to the top box, and you have a functional wormery for under £20.
The trade-off: no tap for liquid collection (you have to lift the top boxes to access the sump), no proper ventilation design, and the look is purely functional. But the worms don’t care about aesthetics — they work identically in a DIY system as in a premium one.
Composting Worms
Budget for the worms separately. A starter pack of 250-500 mixed composting worms costs about £15-25 from specialist suppliers like Wiggly Wigglers, Worms Direct, or The Worm Composting Shop. Start with 250 — they reproduce quickly, and a small colony grows to match your feeding rate within a few months. Our Best Garden Kneelers 2026 UK: Padded & Folding guide is useful alongside this.

What Worms Eat and What They Don’t
Safe to Feed
- Fruit and vegetable scraps — peelings, cores, ends, overripe produce
- Tea bags and coffee grounds — worms love these (remove staples from tea bags)
- Crushed eggshells — adds calcium and helps regulate acidity
- Cardboard and newspaper — torn into strips, provides carbon balance. Worms eat the cardboard itself
- Garden waste in small amounts — dead leaves, small amounts of grass clippings (too much generates heat)
Avoid or Limit
- Citrus peel — acidic and contains limonene, which is toxic to worms in large amounts. Small amounts occasionally are fine
- Onion and garlic — strong-smelling and slow to break down. Small amounts mixed with other waste are tolerable
- Spicy food — chilli, curry residue. Worms don’t enjoy capsaicin any more than you’d enjoy eating it raw
Never Feed
- Meat and fish — attracts rats and flies, creates terrible odours, and can introduce harmful bacteria
- Dairy products — same problems as meat
- Cooking oils and fats — coat the worms’ skin and prevent them breathing
- Dog or cat waste — contains parasites and pathogens
- Diseased plant material — can spread plant diseases through the compost
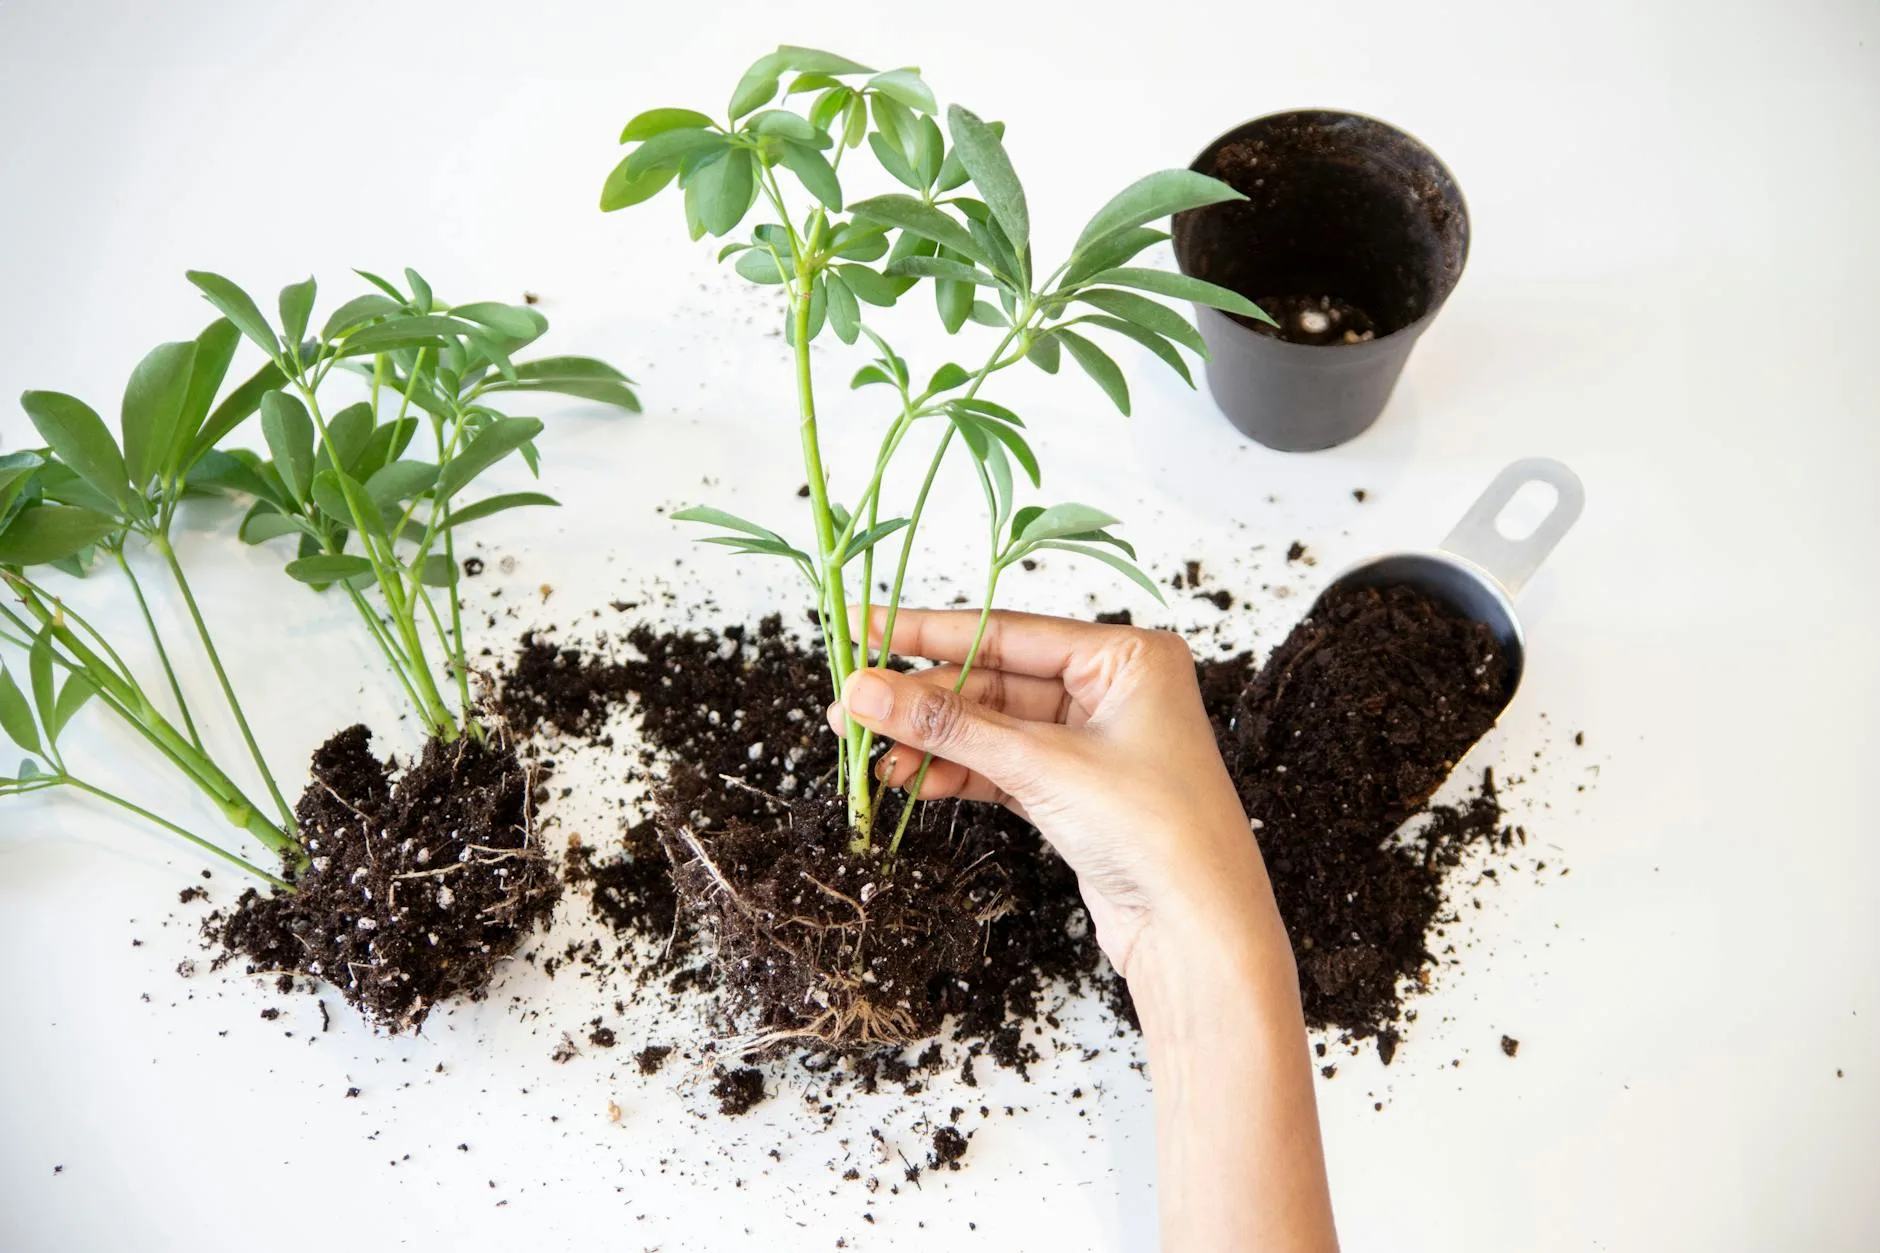
Setting Up Your Wormery
Bedding First
Before adding worms, create a bedding layer. Shredded newspaper, torn cardboard, or coir fibre soaked in water and squeezed until damp (not dripping) forms the base. This gives the worms somewhere to live while they acclimatise. Fill the first working tray about two-thirds full with damp bedding.
Adding Worms
Tip the worms onto the bedding and leave the lid off in a lit room for 30 minutes. The worms burrow away from light, settling into the bedding. Don’t add food yet — let them acclimatise for 2-3 days.
First Feeding
After 2-3 days, add a small amount of food waste — a handful of vegetable peelings and some tea bags. Bury it under the bedding rather than leaving it on the surface (reduces odour and fruit fly risk). Wait until this food has mostly disappeared before adding more.
Building Up
Over 4-6 weeks, gradually increase the amount you feed. The worm colony needs time to grow to match the food supply. Overfeeding early is the most common beginner mistake — food rots faster than the worms can eat it, creating odour and attracting flies. We cover a similar decision in Best Bokashi Bins 2026 UK: Kitchen Composting Made Easy.
Harvesting Compost and Liquid Feed
Compost Harvesting
In a stacking tray system, the bottom tray is ready to harvest when it’s full of dark, crumbly material and most of the worms have migrated upward. Remove the tray, spread the contents on a sheet in sunlight for an hour — any remaining worms will burrow to the bottom away from light. Scrape off the top layer of compost, return any worms to the wormery, and use the compost.
Using Vermicompost
- Potting mix — blend 25-30% vermicompost with standard compost for an enriched growing medium
- Top dressing — spread a thin layer around established plants
- Seed starting — mix with perlite for a nutrient-rich seed compost
- Lawn feed — scatter thinly across the lawn in spring
Liquid Feed
Drain the sump tap every week or so. The liquid should be dark brown — if it’s clear, the wormery is too dry. Dilute 10:1 with water (it’s concentrated and can burn plant roots undiluted) and use as a liquid feed for houseplants, vegetables, and container gardens. Our guide on how long compost takes compares vermicompost speed with traditional methods.
Common Wormery Problems and Fixes
Fruit Flies
The most common complaint. Fruit flies lay eggs on exposed food waste. Prevention: bury food under bedding, cover fresh waste with a layer of damp newspaper, and keep the lid closed. Cure: a fruit fly trap (apple cider vinegar in a jar with cling film over the top, holes poked in it) next to the wormery catches adults while you manage the source.
Bad Smell
A healthy wormery smells earthy — like damp forest floor. A bad smell means something is wrong:
- Rotting food smell — overfeeding. Stop adding food for a week and let the worms catch up
- Ammonia smell — too much nitrogen-rich waste (fresh grass clippings, too many greens). Add shredded cardboard to balance the carbon-nitrogen ratio
- Sour/acidic smell — too much citrus or acidic food. Add crushed eggshells or a small sprinkle of garden lime to neutralise acidity
Worms Trying to Escape
Worms crawling up the sides and lid of the wormery are distressed — something in the environment is wrong. Check: Is it too wet? (Add dry cardboard.) Too acidic? (Add eggshells.) Too hot? (Move to shade.) Were you away and the food ran out? (Add fresh waste.) Escapee behaviour usually resolves within a day or two once the problem is fixed. You may also want to read Best Fleece and Cloches 2026 UK: Frost Protection.
Worms Dying
Mass die-off is usually caused by extreme temperature (too hot in direct sun or frozen in winter), waterlogging (the sump is full and the wormery is flooded), or poisoning (accidentally adding something toxic — cleaning product residue on food scraps, treated wood shavings). Check conditions and correct the cause. A healthy colony recovers from partial losses within weeks.
Wormery vs Compost Bin: Which Is Better?
Choose a Wormery If…
- You live in a flat or have no garden — wormeries work indoors and on balconies
- You want fast results — vermicompost is ready in 2-3 months vs 6-12 for standard compost
- You want liquid feed — compost bins don’t produce this
- You have limited space — a wormery takes up about 50cm x 50cm of floor space
- You mainly produce food waste — worms process kitchen scraps efficiently
Choose a Compost Bin If…
- You have a garden with space — compost bins handle garden waste that worms can’t process (woody material, large volumes of leaves)
- You generate high volumes — a large compost bin handles more material than a domestic wormery
- You want minimal maintenance — compost bins need turning occasionally but otherwise look after themselves
- You’re happy to wait — if you’re not in a rush for finished compost
Both Is Best
Many serious gardeners run both. Kitchen food waste goes to the wormery for fast, high-quality vermicompost. Garden waste goes to a standard compost bin for bulk compost. The two systems handle different inputs and produce different outputs — they complement rather than compete.
Wormeries for Flats and Small Spaces
Size Considerations
The Urbalive (about 50cm x 40cm x 50cm) fits under a kitchen counter or in a utility cupboard. A DIY system using small stacking boxes can be even more compact. For a single person’s food waste, a small system with one or two active trays is sufficient.
Odour Management
Indoor wormeries don’t smell if managed correctly. The keys: don’t overfeed, bury food under bedding, drain the sump regularly, and maintain the right moisture level (damp, not wet). If you can smell your wormery from across the room, something needs adjusting — a well-run indoor wormery is undetectable from 30cm away.
Fruit Fly Prevention Indoors
Indoor fruit flies are more annoying than outdoor ones. Freeze food scraps overnight before adding them to the wormery — this kills any fruit fly eggs already on the waste. Keep a close-fitting lid on the wormery at all times. A layer of damp newspaper over the food surface blocks flies from reaching the waste to lay eggs.
Winter Advantage
Indoor wormeries don’t experience the winter slowdown that outdoor ones do. Room temperature (18-22°C) is ideal for composting worms year-round. Your worms work at full speed through winter while outdoor wormeries hibernate. This makes indoor wormeries more efficient per square centimetre than outdoor ones on an annual basis.
Frequently Asked Questions
How many worms do I need to start a wormery?
Start with 250-500 worms. A pack of 250 mixed composting worms costs about £15-20. They reproduce quickly in good conditions, doubling their population roughly every 3 months. Within 6 months, a starter colony will have grown to match a typical household’s food waste output.
Do wormeries smell?
A healthy wormery smells like damp earth — earthy and mild. If it smells bad, something is wrong: overfeeding, excess moisture, or too much acidic waste. Correct the cause and the smell resolves within days. A well-managed indoor wormery is undetectable from a short distance.
Can I put a wormery in my kitchen?
Yes. Indoor wormeries designed for kitchen use (like the Urbalive) are odour-free when managed properly and fit under a counter or in a utility area. The main challenge is managing fruit flies — freeze food scraps before adding them and keep the lid tightly closed.
What happens to a wormery in winter?
Outdoor wormeries slow down as temperatures drop below 10°C. Below 5°C, worms stop eating and cluster together. Move the wormery against a south-facing house wall, wrap it in bubble wrap or old carpet, and reduce feeding. Alternatively, move it into a garage or shed. Indoor wormeries are unaffected by winter.
How long does it take to get compost from a wormery?
The first harvest is typically ready 2-3 months after setting up the wormery. After that, a stacking tray system produces a full tray of finished compost roughly every 6-8 weeks, depending on the size of your worm colony and how much you feed them.
How do I improve poor garden soil? Add organic matter such as compost or well-rotted manure, avoid walking on beds, and mulch regularly to protect soil structure.
How often should I feed plants? Fast-growing crops in containers need regular feeding, often weekly in summer. Plants in open ground need less if soil is healthy.
Is peat-free compost good enough? Yes, but quality varies. Choose fresh peat-free compost from a reliable brand and match it to the job, especially for seeds and containers.
What should I check first with Best Wormeries : Indoor & Outdoor Vermicomposting? Start with the real use case, then check size, compatibility, running costs and maintenance. A product that looks good on paper can still be the wrong fit if it does not suit the room, routine or budget.
How do I avoid wasting money on Best Wormeries : Indoor & Outdoor Vermicomposting? Avoid buying on one headline feature alone. Compare the practical details, read the warranty or returns terms, and choose the option that solves your main problem rather than the one with the longest specification list.