You go away for one warm weekend, come back on Sunday night, and the courgettes look like they have given up on life. The tomatoes are curled, the compost has pulled away from the pot edges, and the one bed you watered in a rush on Friday is somehow still bone dry underneath. A good watering system will not make a bad garden good, but it will stop a decent garden being ruined by three hot days and one forgotten evening.
In This Article
- Best Overall Watering System for Most UK Gardens
- Quick Picks by Garden Type
- Drip, Soaker or Sprinkler: Which Type Do You Need?
- How to Build a Basic Drip System
- Where Soaker Hoses Still Make Sense
- Adding a Timer Without Making It Fussy
- What It Costs in the UK
- Mistakes That Waste Water
- Bottom Line
- Frequently Asked Questions
Best Overall Watering System for Most UK Gardens
For most raised beds, allotment plots and veg patches, the best watering system drip timer UK gardeners should start with is a simple drip irrigation kit connected to a tap timer. Not the huge commercial setup you see in market gardens. Just 13mm supply pipe, 4mm feeder pipe, adjustable drippers or drip line, and a battery timer on the outside tap.
The reason is control. A sprinkler wets leaves, paths, weeds and the neighbour’s fence if the wind catches it. A watering can is precise but takes time. Drip irrigation puts water slowly at soil level, where roots can use it. In a dry spell, that matters more than fancy settings.
My pick would be a Hozelock or Claber-style starter kit for a small garden, or a Rain Bird/Antelco component setup if you are happy buying separate parts. Expect to pay about £35-60 for a small kit and £25-45 for a basic tap timer. If you already have a decent hose from our best garden hoses UK guide, you may only need the irrigation pipework and timer.
The key is not buying the most complex system. It is buying one you will actually leave in place, test, and adjust.
One small warning: automatic watering is not a substitute for checking plants. It buys you consistency, but you still need to look at leaf colour, compost moisture and blocked drippers through summer.
Quick Picks by Garden Type
Different gardens need different watering habits. A patio full of pots dries out much faster than a no-dig bed with thick compost mulch, and a greenhouse behaves like a separate climate.
For a quick decision, I would split it like this:
- Raised vegetable beds: Drip line or adjustable drippers on a timer.
- Long borders: Soaker hose under mulch, especially for shrubs and perennials.
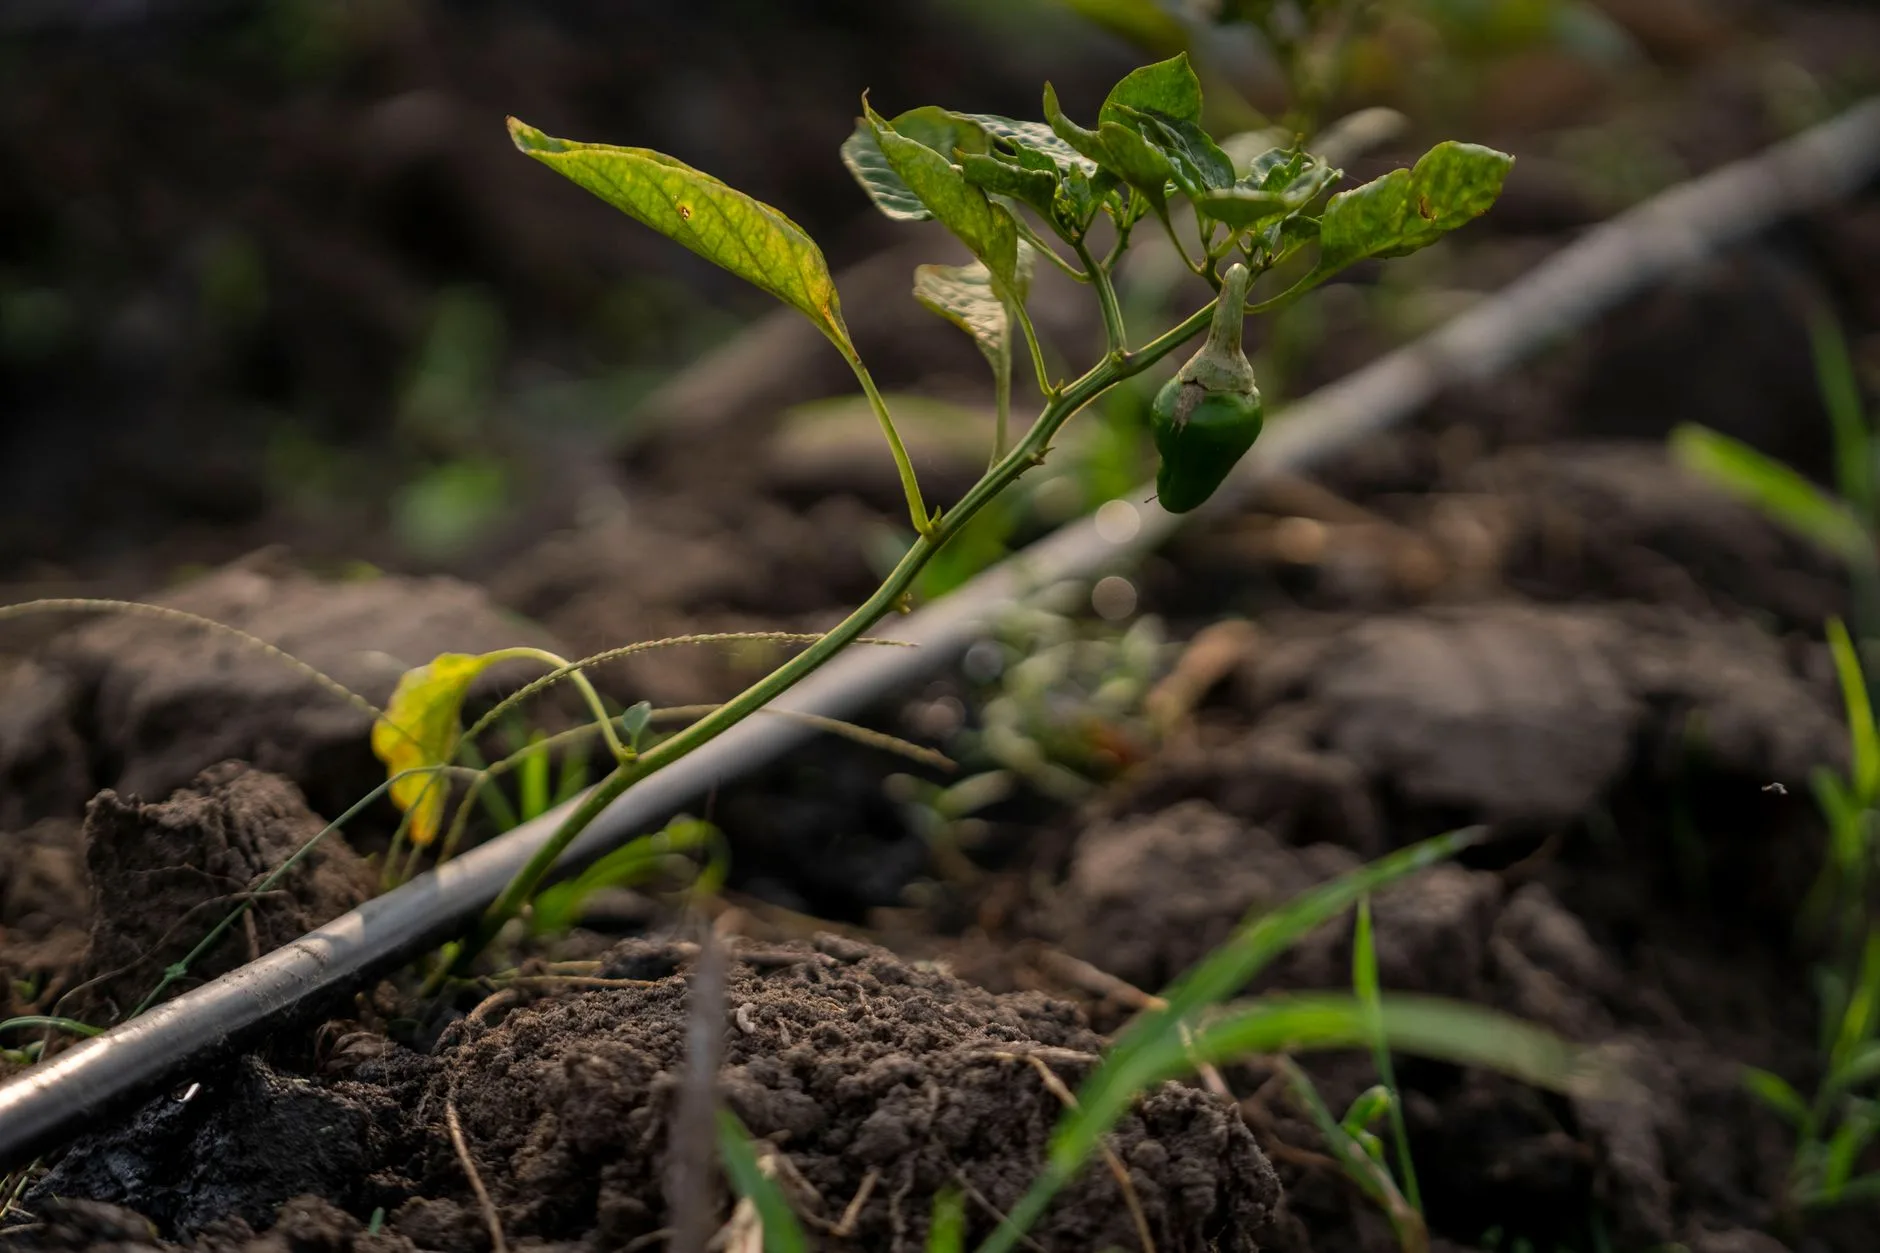
- Greenhouses: Drippers for tomatoes, cucumbers and chillies, with a separate shorter timer programme.
- Patio pots: Individual drippers or self-watering pots, because compost volume is small.
- Lawns: Oscillating sprinkler only when you really need it; most UK lawns recover after browning.
- Allotments without a tap: Water butts, seep hose, and manual watering. Timers are only useful if you have pressure.
RHS watering guidance is sensible here: water less often but more deeply, so moisture reaches the root zone rather than just dampening the top centimetre. Their watering advice is worth reading before you spend money, because many “watering problems” are really soil, mulch or timing problems.
If your beds are still being planned, sort the layout first. A neat, reachable bed is far easier to irrigate than a random patch of crops. Our raised bed vegetable garden layout guide covers that side of the job.
Drip, Soaker or Sprinkler: Which Type Do You Need?
The best system is the one that matches the way water moves through your garden. Do not start with the gadget. Start with the crop, soil and access to a tap.
Drip irrigation
Drip irrigation uses small emitters or perforated drip line to release water slowly near each plant. It is the neatest option for tomatoes, cucumbers, courgettes, beans, salad leaves and anything in rows.
It works well because you can put water where roots are active. On a hot day, that can be the difference between a tomato plant ticking along and one that drops flowers because the compost keeps swinging between wet and dry.
The downside is setup time. You need to cut pipe, add connectors, peg lines down and test every emitter. The first setup always takes longer than you expect. After that, it becomes almost boring, which is exactly what you want from garden watering.
Soaker hose
Soaker hose seeps water along its length. It is less precise than individual drippers but easier to lay around a border or through a row of plants. It suits hedges, fruit bushes, perennial borders and larger veg beds where you want a broad damp strip.
The weak point is pressure balance. On a long run, the section nearest the tap can water more than the far end. Cheap soaker hose also kinks if you ask it to turn too tightly. For one or two beds, it is fine. For a whole plot, drip line usually behaves better.
Sprinklers
Sprinklers are fast and familiar. They are also the least subtle tool here. They wet leaves, encourage evaporation, and waste water on paths unless the pattern is set carefully.
I would still keep one for lawns, newly sown grass, or very broad areas where precision does not matter. I would not use a sprinkler as the main system for tomatoes, courgettes or greenhouse crops. Wet leaves plus poor airflow is asking for mildew.
How to Build a Basic Drip System
For vegetable beds, plan the pipe runs alongside your raised bed vegetable garden layout rather than adding them afterwards. If most of your growing is under cover, our best greenhouses UK guide explains the sizes and layouts where automatic watering earns its keep fastest.
Start with one bed or one greenhouse. Do not try to automate the whole garden on the first Saturday, because you will end up with a basket full of connectors and no idea which part leaks.
What to buy first
A practical starter setup needs:
- Tap connector: Usually a standard outside-tap fitting.
- Pressure reducer: Useful if your mains pressure is strong.
- 13mm supply pipe: The main line running along the bed.
- 4mm feeder pipe: Smaller pipe to individual plants, if using drippers.
- Drippers or drip line: Adjustable drippers for pots and greenhouse crops; drip line for rows.
- End stops and stakes: Boring but needed.
- Hole punch: The small tool that saves a lot of swearing.
For one 2.4m raised bed, you can often run a length of 13mm pipe down one side and either use drip line loops or short 4mm feeds to each plant. For a greenhouse, I prefer adjustable drippers because tomatoes in grow bags need different watering from a chilli in a pot.
How to lay it out
Lay the pipe before you cut anything. Put it on the soil surface, check where the plants are, then trim once you know the run works. If the bed has not been planted yet, leave extra pipe and adjust later.
A neat first layout looks like this:
- Connect the tap timer to the outside tap.
- Add a pressure reducer if the kit requires one.
- Run 13mm pipe to the bed.
- Peg drip line or feeder pipes near the plant bases.
- Cap the ends.
- Turn the system on manually and check every joint.
- Run it for 20 minutes, then dig down with a trowel to see how deep the water went.
That last step matters. The surface can look damp while the root zone is still dry. Once you know how long your soil takes to wet properly, the timer settings become much easier.
Where Soaker Hoses Still Make Sense
If your current hose is already kinked, leaking or too short for the beds, compare replacements in our best garden hoses UK guide before adding timers and connectors to a weak setup.
Soaker hoses get dismissed because drip systems are tidier, but they still have a place. If you have a long raspberry row, a hedge, young fruit bushes or a border that dries out under a fence, a soaker hose is quick to install and hard to overcomplicate.
The trick is to bury it lightly under mulch, not under soil. Mulch keeps the sun off the hose and reduces evaporation, but you can still lift the hose if it blocks or needs moving. Bark, compost, leaf mould or straw all work.
Do not run a soaker hose in a tight spiral around one plant. It looks clever in product photos and then waters unevenly. Use gentle lines, keep the hose reasonably level, and avoid runs longer than the manufacturer suggests.
I would choose soaker hose over drip irrigation for:
- Established fruit bushes: Currants, gooseberries and raspberries prefer steady soil moisture.
- New hedging: A simple line along the base is quicker than individual drippers.
- Mixed borders: It handles awkward planting better than a rigid drip layout.
- Temporary summer watering: Lay it for July and August, lift it in autumn.
For annual veg beds, drip line is still my first choice. It is easier to match water to rows and move the system when the crop plan changes.
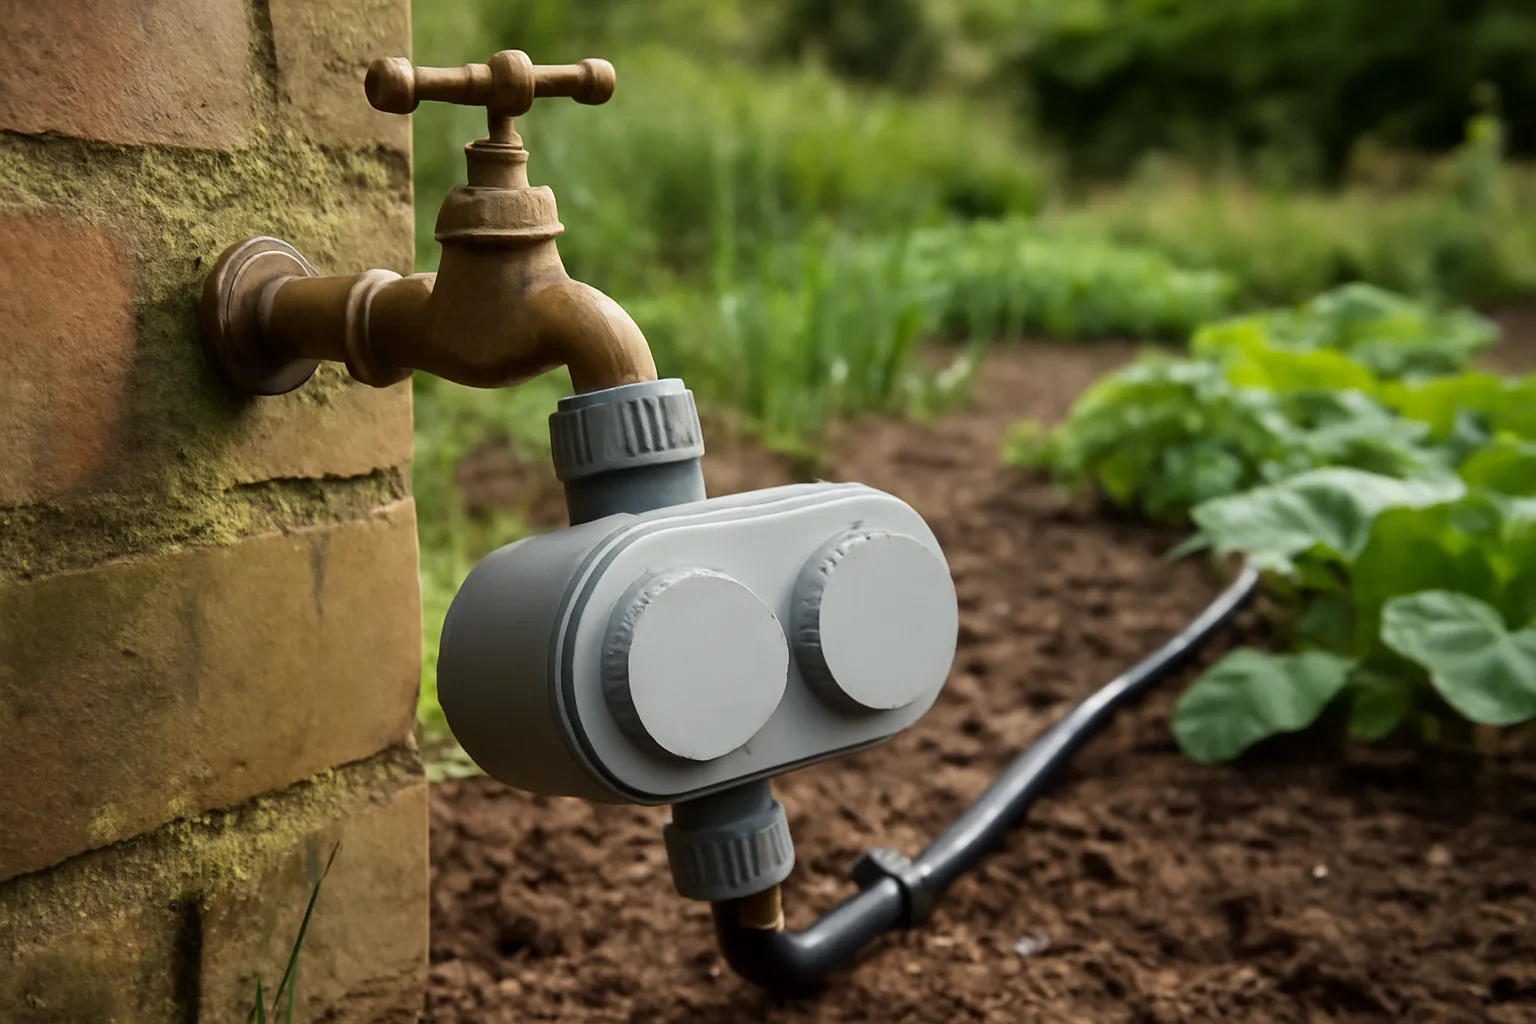
Adding a Timer Without Making It Fussy
A tap timer is the bit that turns a watering system from useful to genuinely useful. It also gives people false confidence. Set it wrong and you can waste water every morning while still leaving roots thirsty.
Start with a basic battery timer, not a phone-controlled system. Bluetooth and Wi-Fi models are fine if you enjoy that, but the garden does not need an app to water tomatoes at 6am.
Sensible timer settings
For a typical UK raised bed in summer, start with 20-30 minutes every two or three days, then adjust after checking the soil. Sandy soil may need shorter, more frequent runs. Clay soil may need slower watering with longer gaps. Containers and grow bags need their own programme because they dry out faster.
I would avoid tiny daily runs unless you are watering pots. Five minutes every morning often wets the surface and trains roots to stay shallow. Deeper watering, less often, usually builds tougher plants.
Morning beats evening
Early morning is the easiest default. The soil is cooler, evaporation is lower, and leaves have the day to dry if any water splashes up. Evening watering can work, but damp foliage overnight is not ideal in crowded greenhouses.
If there is a hosepipe ban or local water restriction, follow the current rules. Waterwise has useful household and garden water-saving guidance at waterwise.org.uk, and it is a good reminder that automatic watering should be efficient, not an excuse to soak everything.
What It Costs in the UK
You can spend very little or make this oddly expensive. The sweet spot for most GrowPlotUK readers is a mid-range system from a known garden brand, with enough spares to repair it.
Typical costs
Expect rough prices like these in 2026:
- Basic soaker hose: £15-30 for a 15m run.
- Small drip irrigation kit: £35-60 for beds, pots or a greenhouse.
- Tap timer: £25-45 for a simple battery model.
- Better modular parts: £60-120 if you build a larger system from separate pieces.
- Extra connectors and stakes: £10-25, and you will want them sooner than you think.
Hozelock is easy to find at B&Q, Screwfix and garden centres. Claber and Gardena are also common. Rain Bird and Antelco parts can be better for more custom setups, though you may buy them from irrigation specialists rather than a normal garden centre.
The cheapest kits can work, but weak connectors are annoying. If a joint pops off while you are out, the system can run water onto a path for an hour. I would rather buy a smaller good kit than a huge bargain kit with flimsy fittings.
Mistakes That Waste Water
If you are watering containers as well as beds, our growing fruit in containers guide is a useful reminder that pot size and compost volume change watering needs as much as the timer setting.
Most watering systems fail because of small setup mistakes, not because the idea is wrong.
Watering the path
Run the system while you watch it. If water is dripping onto timber edges, paths or bare soil between plants, move the emitters. It sounds obvious. It is also the easiest thing to miss when you install in a hurry.
No filter
If you use harvested rainwater from a butt, add a filter. Tiny bits of leaf and algae block drippers. Mains water is easier, but a filter is still useful if the kit recommends one.
Mixing too many zones
A greenhouse, a raised bed and patio pots should not always share one timer programme. Pots may need daily watering in a heatwave; a mulched bed may not. If everything is on one line, one area gets too much or another gets too little.
Forgetting to test after planting grows
Plants move. Leaves expand. A pipe that was clear in May may be buried under courgette foliage in July. Check the system every week in peak summer, especially after tying in tomatoes or harvesting.
Not mulching
Irrigation without mulch is doing half the job. A 3-5cm layer of compost, leaf mould or straw keeps moisture in the soil for longer. If you are building raised beds, our raised bed compost guide explains the sort of growing medium that holds water without turning sour.
Bottom Line
The best watering systems are not the flashiest ones. For most UK veg gardens, a drip kit plus a basic tap timer is the right starting point. Add soaker hose for fruit rows and borders, keep a sprinkler for lawns, and use a watering can for the pots you actually enjoy checking.
Buy fewer parts than you think you need, set up one zone properly, and test the soil with a trowel. If water is reaching the root zone without soaking leaves or paths, you have done the important bit.
Frequently Asked Questions
What is the best watering system for raised beds? A drip irrigation kit with either drip line or adjustable drippers is usually best. It waters at soil level, suits rows of vegetables, and can be connected to a simple tap timer.
Are soaker hoses better than drip irrigation? Soaker hoses are easier for long borders, hedges and fruit rows. Drip irrigation is better for precise watering around vegetables, greenhouse crops and pots.
How long should a drip system run? Start with 20-30 minutes every two or three days in summer, then check the soil 5-10cm down. Adjust for soil type, crop size and weather.
Can I use a watering system during a hosepipe ban? It depends on the specific restrictions in your water area. Always check your water company rules before using any hose-connected system.
Do I need a pressure reducer? Many drip kits work better with one, especially on mains water. Too much pressure can push connectors apart or make drippers run unevenly.