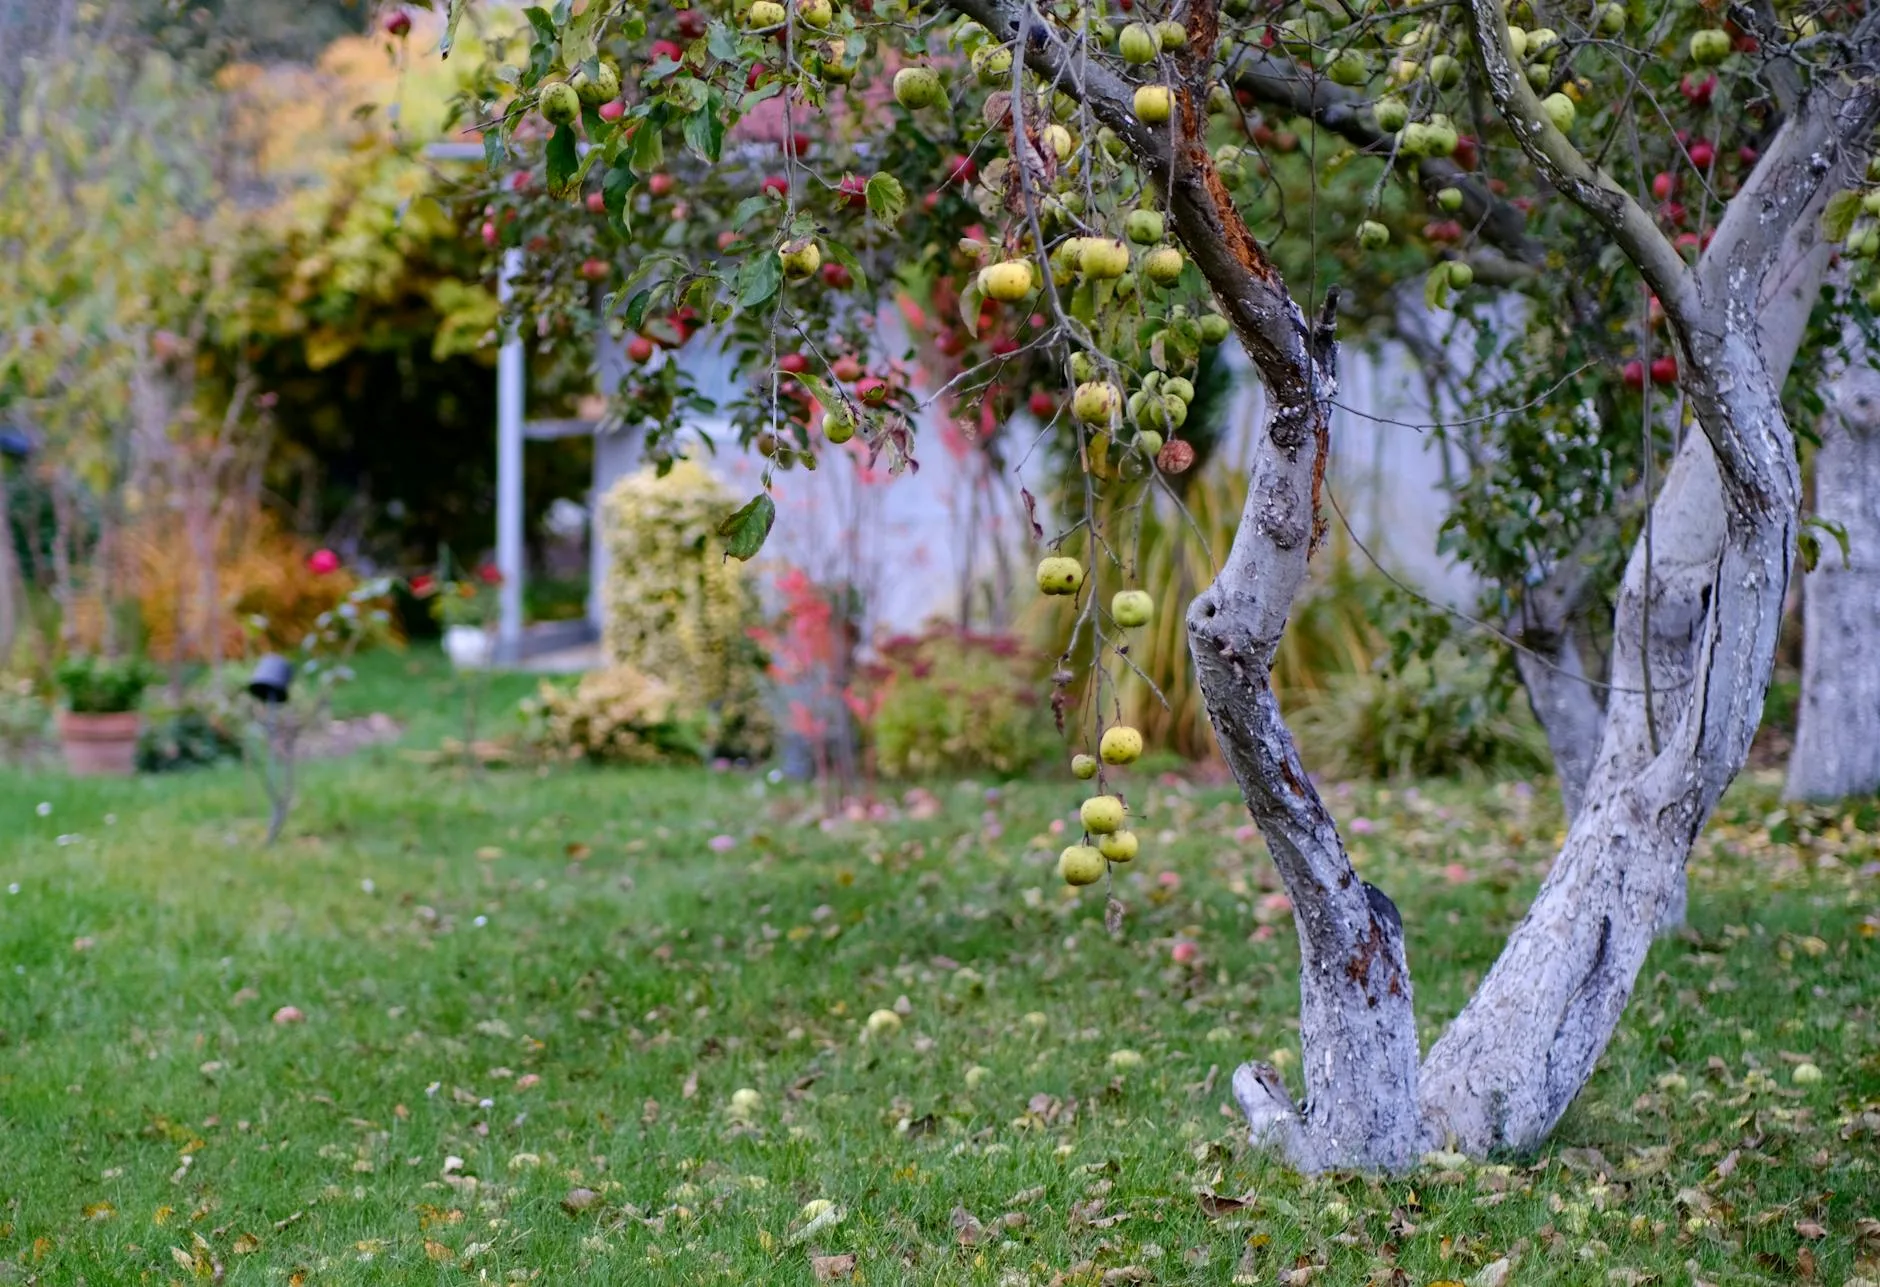
There’s a moment every winter when you look at the apple tree in the garden — the one that was here when you moved in — and think “I should probably do something about that.” Branches crossing over each other, a tangle of twiggy growth in the middle, and last summer it produced about six apples, three of which had brown rot. The tree needs pruning. You know this. But the idea of cutting bits off a living thing that took decades to grow feels a bit terrifying, so another year passes and nothing happens.
Here’s the reassuring truth: fruit trees are tough. A bad haircut won’t kill them. Under-pruning — which is what most people do — is far more damaging long-term than over-pruning, because crowded, airless canopies breed disease and produce small, poor-quality fruit. You’d have to do something spectacularly wrong with a saw to actually kill an established fruit tree. So take a breath, grab your secateurs, and let’s sort this out.
This guide covers the main fruit trees you’ll find in UK gardens — apple, pear, plum, and cherry — with clear instructions on when to prune, how to prune, and what mistakes to avoid.
Why Bother Pruning at All?
Left to their own devices, fruit trees don’t die — but they do become progressively less productive, more disease-prone, and more difficult to harvest from. Pruning does several things:
- Improves air circulation. A dense canopy traps moisture, which is exactly what fungal diseases like apple scab, canker, and brown rot need to thrive. Opening up the centre of the tree lets air flow through and sunlight reach the inner branches.
- Directs energy to fruit production. A tree has a finite amount of energy. If it’s spending that energy growing a forest of thin, unproductive shoots, less goes into producing decent fruit. Pruning removes the unproductive wood so the tree can focus.
- Controls size and shape. Unless you own an orchard ladder, picking fruit from a 6-metre tree is impractical. Pruning keeps the tree at a manageable height and shape. Fruit trees in raised beds or small gardens need even more careful size management.
- Removes the 3 Ds. Dead, diseased, and damaged wood. This is the single most important reason to prune and the place every beginner should start.
The 3 Ds: Dead, Diseased, and Damaged
Before you think about shaping, structure, or technique, deal with the 3 Ds. This is priority one, every time.
Dead Wood
Dead branches are easy to spot — no buds, no leaves (even in winter you can see the difference), brittle bark that flakes off, and often a different colour from the living wood. Scratch the bark with your thumbnail: living wood shows green underneath; dead wood is brown and dry.
Cut dead wood back to the nearest healthy branch or to the branch collar (the slightly swollen ring where the branch meets the trunk). Dead wood harbours disease and provides entry points for pests. Remove all of it, regardless of the time of year.
Diseased Wood
This varies by disease, but common signs include:
- Canker: Sunken, cracked, or swollen patches of bark, often with concentric rings. Common on apple and pear trees. Cut back at least 15cm below the visible edge of the canker into clean, healthy wood.
- Silver leaf: Leaves develop a silvery sheen, and cut branches show a dark stain in the cross-section. Affects plums and cherries particularly. Cut back until the cross-section shows clean, white wood with no staining.
- Coral spot: Bright orange-pink spots on dead or dying branches. Common on many species. Remove affected branches entirely.
- Brown rot: Mummified fruits still hanging on the tree. Remove them along with the fruiting spur they’re attached to.
Critical rule: After cutting diseased wood, clean your tools with methylated spirit or a disinfectant spray before making the next cut. Disease spreads on blade edges. Keep a rag and a bottle in your pocket.
Damaged Wood
Broken branches, storm damage, splits, bark stripped by rubbing branches. Cut back to the nearest healthy side branch or the branch collar. Clean cuts heal faster than torn, ragged wounds.
When to Prune: Timing Is Everything
Different fruit trees need pruning at different times. Get this wrong and you can weaken the tree, reduce fruiting, or invite disease. Here’s the UK-specific timing:
Apple and Pear Trees
Winter pruning (November to early March): This is your main structural prune. The tree is dormant, you can see the branch framework clearly without leaves, and the risk of disease entering cuts is lower. Aim for a dry, mild day — pruning in frost can damage exposed wood, and rain carries fungal spores into fresh cuts.
Summer pruning (late July to August): For trained forms like espaliers, cordons, and fans. Summer pruning restricts new growth and encourages fruit bud formation for next year. On standard trees, summer is the time to remove water shoots (vigorous upright growth sprouting from main branches) — they’re easy to spot when they’re in leaf.
Plum and Cherry Trees
Summer only (June to August). This is non-negotiable. Plums and cherries are highly susceptible to silver leaf disease, which enters through pruning wounds. The silver leaf fungus releases spores from autumn through spring, so cutting during those months is asking for trouble. Prune in mid to late summer when the tree is in full leaf and sap flow helps seal the wounds.
The exception to this is removing dead, diseased, or damaged wood — do that whenever you spot it, regardless of species or time of year. Dead wood is dead; it won’t get silver leaf.
A Handy Calendar
| Tree | Main Prune | Secondary Prune |
|---|---|---|
| Apple | Nov–early March (dormant) | Late July–Aug (trained forms) |
| Pear | Nov–early March (dormant) | Late July–Aug (trained forms) |
| Plum | Mid June–August | None (avoid winter cuts) |
| Cherry | Mid June–August | None (avoid winter cuts) |
Tools You Need
Good tools make pruning easier, cleaner, and safer. You don’t need a shed full of equipment — four items cover almost everything.
Secateurs (Bypass Type)
For branches up to about 2cm diameter. Bypass secateurs cut like scissors, with one blade passing the other. They make cleaner cuts than anvil secateurs, which crush the wood. Felco are the gold standard — the Felco 2 (about £45-55 from Amazon UK or your local garden centre) lasts a lifetime with basic maintenance. Budget alternatives like the Spear & Jackson Kew Gardens range (about £15-20) work well for occasional use.
Loppers
For branches 2-5cm diameter. Essentially long-handled secateurs that give you more leverage and reach. Bypass loppers again — avoid anvil. The Fiskars PowerGear2 (about £30-40) are excellent: the gear mechanism multiplies your cutting force and handles surprisingly thick branches without straining. Wilkinson Sword and Spear & Jackson both make decent options in the £15-25 range.
Pruning Saw
For anything thicker than 5cm. A curved folding pruning saw is the most versatile option — it fits in your back pocket and cuts on the pull stroke, which gives good control when reaching into the canopy. The Silky Fox (about £30-45) is the one that every arborist seems to own. The Bahco Laplander (about £22-28) is the budget pick and still very good.
For thicker branches (over 10cm), use the three-cut method to prevent bark tearing: 1. Undercut about 30cm from the trunk — saw upwards about a third of the way through 2. Top cut a few centimetres further out — saw downwards until the branch falls 3. Final cut at the branch collar — remove the stub cleanly For a related angle, see our Best Fruit Trees for Small UK Gardens 2026 guide.
Disinfectant
Methylated spirit on a rag, or a spray bottle of diluted Jeyes Fluid or household disinfectant. Clean your blades between trees, and always between cuts on diseased wood. Takes seconds, prevents spreading infection.
Optional But Useful
- Telescopic tree pruner (about £40-70) — a saw or lopper on an extendable pole. Lets you reach branches up to 3-4 metres without a ladder. The Fiskars UPX86 (about £55-65) is the one to get.
- Sharp knife — for cleaning up ragged cuts and removing small suckers at the base.
- Kneeling pad — because you will spend time at ground level dealing with low growth and suckers.
How to Prune: The Actual Technique
Right. Tools sharpened, tree identified, correct season confirmed. Here’s how to approach the prune.
Step 1: Stand Back and Look
Before you cut anything, stand back and study the tree from all angles. Look at the overall shape. Identify the main structural branches (the “scaffold” of the tree). Notice where branches cross, where growth is congested, and where the centre is blocked from light.
You’re aiming for an open shape — imagine a wine glass or a goblet. The centre of the tree should be relatively open, with the main branches radiating outward and upward like the ribs of an umbrella. Light and air should be able to reach the middle.
Step 2: Remove the 3 Ds
Dead, diseased, damaged. Get these out first. They’re the easy decisions and often remove more wood than you’d expect, revealing the tree’s real structure underneath.
Step 3: Remove Crossing and Rubbing Branches
Where two branches cross, they rub against each other in the wind. This damages bark and creates entry points for disease. Remove the weaker, less well-positioned, or more inward-growing of the two. If in doubt, remove the one that’s growing towards the centre of the tree.
Step 4: Thin Out Congested Growth
Look for clusters of small, twiggy branches growing from the same point. These compete with each other and none of them produce well. Remove some to leave space between the remaining branches — roughly a hand’s width between neighbouring shoots is a good guide. Our Best Fruit Cages 2026 UK: Protect Your Crop guide is useful alongside this.
Step 5: Reduce Height if Needed
If the tree is too tall to harvest comfortably, reduce the height by cutting main branches back to a strong outward-facing side branch. Don’t just hack the top off flat (that’s called “topping” and it causes a forest of weak, whippy regrowth). Each cut should be made just above a branch that’s at least a third of the diameter of the branch you’re removing.
Step 6: Remove Water Shoots and Suckers
Water shoots are those vigorous, straight, vertical growths that sprout from main branches — often from previous pruning cuts. They’re unproductive and sap energy. Remove them at their base.
Suckers grow from the rootstock below the graft union (the knobbly join near the base of the trunk). These are genetically different from your fruit tree and will never produce the fruit you want. Tear them off rather than cutting — cutting encourages regrowth, while tearing removes the dormant buds. Grasp the sucker firmly and pull sharply downward.
The One-Third Rule
Never remove more than a third of the tree’s total canopy in a single year. Removing more than this shocks the tree into producing masses of unproductive water shoots and weakens it. If the tree is severely overgrown, spread the renovation over two or three years. This winter, remove the 3 Ds and the worst crossing branches. Next winter, thin and shape. The year after, fine-tune.
Patience is the hardest part of pruning, but it produces the best results.
Pruning Different Fruit Trees
Apple Trees
The most forgiving of the common fruit trees. Apples fruit on wood that’s two years old and older, forming on short, stubby “spurs” along the branches. When you prune, you’re trying to encourage spur formation while maintaining an open structure.
Tip-bearing varieties (like Bramley’s Seedling and Worcester Pearmain) produce fruit at the tips of shoots rather than on spurs. Prune these more lightly — if you cut every shoot tip back, you’re removing next year’s fruit. We cover a similar decision in Fruit Growing Success Stories from UK Gardeners.
Spur-bearing varieties (like Cox’s Orange Pippin, Gala, and Braeburn) can be pruned more heavily because fruit forms along the branches, not just at the tips.
Pear Trees
Very similar to apples in pruning technique, but pears are more upright growers. You’ll need to prune to outward-facing buds more aggressively to stop the tree growing into a narrow column. Pears are slightly less forgiving of hard pruning than apples — go steady, especially with established trees.
Conference and Williams are the most common UK garden varieties. Both are spur-bearing and respond well to standard winter pruning.
Plum Trees
Remember: summer only. Plums tend to produce masses of small branches and can become very congested. The open-centre goblet shape is particularly important for plums because they’re prone to fungal diseases in stagnant air.
Plums fruit on one and two-year-old wood. Don’t remove all the young growth — leave a mix of ages so you’ve always got fruiting wood coming through. Victoria plums are notorious for over-cropping and then snapping branches under the weight of fruit. Thin the fruitlets in June (removing some so the rest grow larger) and support heavily laden branches with props.
Cherry Trees
Also summer-pruned. Sweet cherries (like Stella and Sunburst) grow vigorously and can become very large very quickly. If you have a sweet cherry on a vigorous rootstock, keeping it manageable requires annual pruning — you’re essentially fighting the tree’s natural tendency to become enormous.
Morello (sour) cherries fruit on the previous year’s growth, so you need to prune to encourage a constant supply of new young wood. After the fruit is picked in late summer, cut back the branches that have just fruited to a new side shoot lower down. This encourages fresh growth for next year’s crop. For independent guidance, check RHS gardening advice.
Common Mistakes
Pruning Plums and Cherries in Winter
The most damaging mistake beginners make. Silver leaf disease is devastating and often fatal for plum and cherry trees. The spores are airborne from September through May. Every winter pruning cut on a plum or cherry is an open invitation. Wait for summer. This is the one rule that’s genuinely worth treating as absolute.
Cutting Flush to the Trunk
When removing a whole branch, don’t cut flat against the trunk. See that slightly raised ring or collar where the branch meets the trunk? That’s the branch collar, and it contains the cells that heal the wound. Cut just outside it — leaving a small stub of about 5mm is fine. Cutting flush removes the healing tissue and leaves a larger wound that heals slower and is more vulnerable to infection.
Leaving Long Stubs
The opposite mistake. A long stub (more than about 2cm beyond the branch collar) dies back, rots, and becomes a disease entry point. Find the collar, cut just outside it.
Topping the Tree
Cutting the main trunk or leaders flat across the top. This is brutal and triggers a stress response — the tree produces a thicket of weak, vertical water shoots from below the cut. It looks awful, the regrowth is structurally weak and prone to breaking, and the tree ends up worse than before. Always cut back to a side branch.
Doing It All at Once
An overgrown tree didn’t get that way in one year, and you shouldn’t try to fix it in one year. The one-third rule exists for good reason. Removing too much canopy at once weakens the root system (which was sized for a larger tree), triggers excessive regrowth, and can kill weakened or old trees.
Not Stepping Back
The most common practical mistake is not stopping to look. Cut a few branches, step back five metres, and look at the overall shape. Then go back in for more. You can always take more off, but you can’t stick a branch back on.
Caring for Your Cuts
Wound paint (that tar-like sealant sold in garden centres) was standard advice for decades. Current research, including advice from the Royal Horticultural Society, shows it does more harm than good — it traps moisture and disease under the seal. Don’t use it. Let the tree heal naturally. A clean cut on healthy wood will form a callus and close over within a year or two.
The exception: on plums and cherries, some people apply wound paint in emergencies where they’ve had to remove diseased wood outside the ideal window. The evidence is mixed, but the logic of creating a barrier against silver leaf spores has some merit in that specific scenario.
What You’ll Need to Spend
Pruning is one of the cheapest gardening jobs in terms of equipment:
- Secateurs: £15-55
- Loppers: £15-40
- Pruning saw: £20-45
- Disinfectant: £3-5
- Telescopic pruner (if needed): £40-70
Total for a good set of tools: £50-140, and they’ll last years with basic maintenance. Keep blades sharp (a diamond sharpening stone costs about £8-12), oil the pivot points occasionally, and clean them after every session.
The Bigger Picture
Pruning isn’t a one-time fix — it’s an annual habit, like mowing the lawn or feeding the borders. But unlike many gardening tasks, the reward is cumulative. From our experience pruning apple, pear, and plum trees across several growing seasons, each year’s prune builds on the last, gradually shaping a productive, healthy, manageable tree that produces really excellent fruit.
A well-pruned apple tree in a UK garden can produce 40-80kg of fruit per year. If you’re growing fruit trees on an allotment, our month-by-month allotment guide covers when to plant bare-root trees and bushes. That’s enough for eating fresh, cooking, making crumbles through autumn, and still having surplus to give away to neighbours. And there’s something deeply satisfying about eating fruit from a tree you’ve shaped yourself — especially one that was a tangled mess when you started. Get the timing right, start with the 3 Ds, follow the one-third rule, and you’ll be amazed at the difference a few hours with secateurs can make.
Frequently Asked Questions
What gardening tools do beginners really need? Start with gloves, hand trowel, fork, watering can, secateurs and one good spade. Add specialist tools only when a repeated job demands them.
How do I make gardening easier to keep up? Grow fewer crops well, mulch to reduce weeds, group pots near water, and choose plants that suit your soil and light.
What matters most for a productive UK garden? Healthy soil, correct timing, regular watering and realistic crop choices. Expensive kit helps less than consistent small jobs.
What should I check first with How to Prune Fruit Trees: A Beginner’s Guide? Start with the real use case, then check size, compatibility, running costs and maintenance. A product that looks good on paper can still be the wrong fit if it does not suit the room, routine or budget.
How do I avoid wasting money on How to Prune Fruit Trees: A Beginner’s Guide? Avoid buying on one headline feature alone. Compare the practical details, read the warranty or returns terms, and choose the option that solves your main problem rather than the one with the longest specification list.