You’ve driven past them for years — those patchwork plots behind chain-link fences, runner beans climbing bamboo canes, someone in wellies leaning on a fork chatting to their neighbour. And now you want in. Maybe the veg aisle prices have finally tipped you over the edge, or you fancy growing something your kids will actually eat, or you just want a reason to be outside that isn’t mowing the lawn. Whatever brought you here, this is everything you need to know to start an allotment in the UK, from getting your name on a waiting list to harvesting your first courgettes.
Fair warning: allotments are addictive. Once you’ve pulled your first carrot out of the ground and eaten it twenty minutes later, supermarket veg never quite tastes the same.
Getting on the Waiting List
This is the bit nobody warns you about. In most parts of England and Wales, councils are legally required to provide allotments if there’s demand (under the Allotments Act 1908), but that doesn’t mean there’s one ready for you tomorrow. Waiting lists in popular areas — London boroughs, university towns, anywhere with a thriving middle-class guilt about food miles — can run two to five years. Some rural councils have plots available immediately.
Here’s what to do:
- Contact your local council — search “[your council name] allotment waiting list” online. Most have an online form or email address. Some councils manage plots directly; others delegate to allotment associations.
- Register for multiple sites — if your council manages several allotment sites, put your name down for more than one. The less popular sites (further from the centre, no water supply, north-facing) often have shorter waits.
- Ask about half plots — a full allotment is traditionally 10 rods (about 250 square metres), which is a serious chunk of land. Half plots are increasingly common and far more manageable for beginners. Some sites offer quarter plots too.
- Check parish councils separately — in rural areas, parish councils sometimes manage their own allotments independently of the district council. These don’t always show up in the main council search.
Expect to pay somewhere between £25 and £100 per year for a full plot, depending on your area. Half plots are usually proportionally cheaper. Concessions for over-60s, disabled gardeners, and people on certain benefits are standard.
What to Expect When You Get the Call
The phone rings (or more likely, an email lands) and you’ve got a plot. Exciting — and slightly terrifying. Here’s the reality check.
Your plot probably won’t look like the manicured allotments on Instagram. If the previous tenant left months ago, expect waist-high weeds, possibly some rogue brambles, and that weird carpet-on-the-ground thing that allotment holders from the 1990s swore by. Don’t panic. Every beautiful allotment you’ve ever admired started exactly like this.
Before you sign the tenancy agreement, visit the plot and check a few things:
- Water access — is there a standpipe on site or do you need to bring your own? Some sites have communal taps at intervals; others expect you to collect rainwater.
- The tenancy rules — most sites have rules about keeping paths clear, not using certain chemicals, what structures you can build, and how long you can leave a plot uncultivated before they take it back. Read them. Boring but important.
- Access and parking — you’ll be hauling compost, tools, and occasionally children. A site with decent vehicle access makes the early heavy work much easier.
- Your neighbours — introduce yourself. Allotment neighbours are the best free resource you’ll ever have. They know the soil, the microclimate, when the slugs are worst, and which variety of potato actually works on that particular patch of ground.
Clearing and Preparing Your Plot
Right, you’ve signed up. Now you’re standing in front of a patch of weeds wondering where to start. Here’s the approach that works without breaking your back or your enthusiasm in the first fortnight.
Don’t try to clear the whole thing at once. This is the number one beginner mistake. A full plot is huge. Even a half plot is bigger than most people’s gardens. Pick a manageable section — maybe a quarter of your space — and focus on getting that productive first.
For the area you’re tackling now:
- Cut everything down to ground level with shears or a strimmer. Bag up or compost the debris.
- Cover the rest with cardboard and mulch. Lay flattened cardboard boxes over the areas you’re not ready to work on, weigh them down with wood chips, compost, or old pallets. This suppresses weeds without chemicals and starts improving the soil underneath. By the time you’re ready to expand, the ground will be much easier to work.
- Fork over your working area — a good garden fork is essential here. Push it in, lever back, turn the soil, pull out perennial weed roots (dock, dandelion, couch grass, bindweed). Don’t rotavate weedy ground — you’ll just chop every root into ten new plants. If you’re still choosing tools, our guide to choosing the right garden fork and spade covers what to look for.
- Add organic matter — compost, well-rotted manure, leaf mould, whatever you can get your hands on. Allotment soil has usually been cultivated for decades, which is good, but it needs feeding. Many allotment sites have communal compost heaps or arrange bulk manure deliveries. Ask around.
Essential Tools for Your First Season
You don’t need a shed full of gear to get started. Plenty of allotment holders have been productive for years with surprisingly little. Here’s what’s actually essential versus nice-to-have:
The essentials:
- A good fork — for turning soil, lifting root veg, breaking up clumps. Spend £30-50 on something that won’t snap at the socket. Spear & Jackson and Bulldog are reliable mid-range choices from B&Q.
- A spade — for digging planting holes, edging beds, shifting compost. Same price bracket works fine.
- A hand trowel and fork — for planting out seedlings, weeding between plants, and working in tight spaces.
- A hoe — a Dutch hoe is magic for keeping weeds down between rows. Ten minutes of hoeing on a dry day does more than an hour of hand weeding.
- A watering can — two, ideally. The walk back and forth to the tap is the hidden cardio of allotment life.
- A wheelbarrow — for shifting compost, carting tools, and bringing home the harvest. You can pick up decent secondhand ones for £15-20 on Facebook Marketplace.
Nice but not urgent:
- A dibber — for making planting holes. A sharpened stick does the same job.
- Netting and fleece — essential eventually for keeping pigeons off brassicas and protecting early sowings from frost, but you can sort this as specific needs arise.
- A shed or lockbox — worth having if your site has tool theft issues, but a waterproof bag and a car boot work fine initially.
What to Grow in Your First Year
Here’s where it gets fun. The temptation is to buy one of everything from the seed rack at the garden centre. Resist. Your first year is about learning your soil, your microclimate, and how much time you can realistically commit. Grow things that are almost impossible to fail with, and you’ll build confidence fast.
Reliable first-year crops:
- Potatoes — plant in March or April, harvest from June onwards. They break up heavy soil as they grow, which is a bonus on a new plot. A 3kg bag of seed potatoes costs about £4-6 from any garden centre.
- Courgettes — two plants will produce more courgettes than you can eat, gift, or hide in neighbours’ bags. Seriously, two is enough.
- Runner beans and French beans — sow direct from mid-May, harvest all summer. Runner beans on a wigwam of canes look brilliant and produce for months.
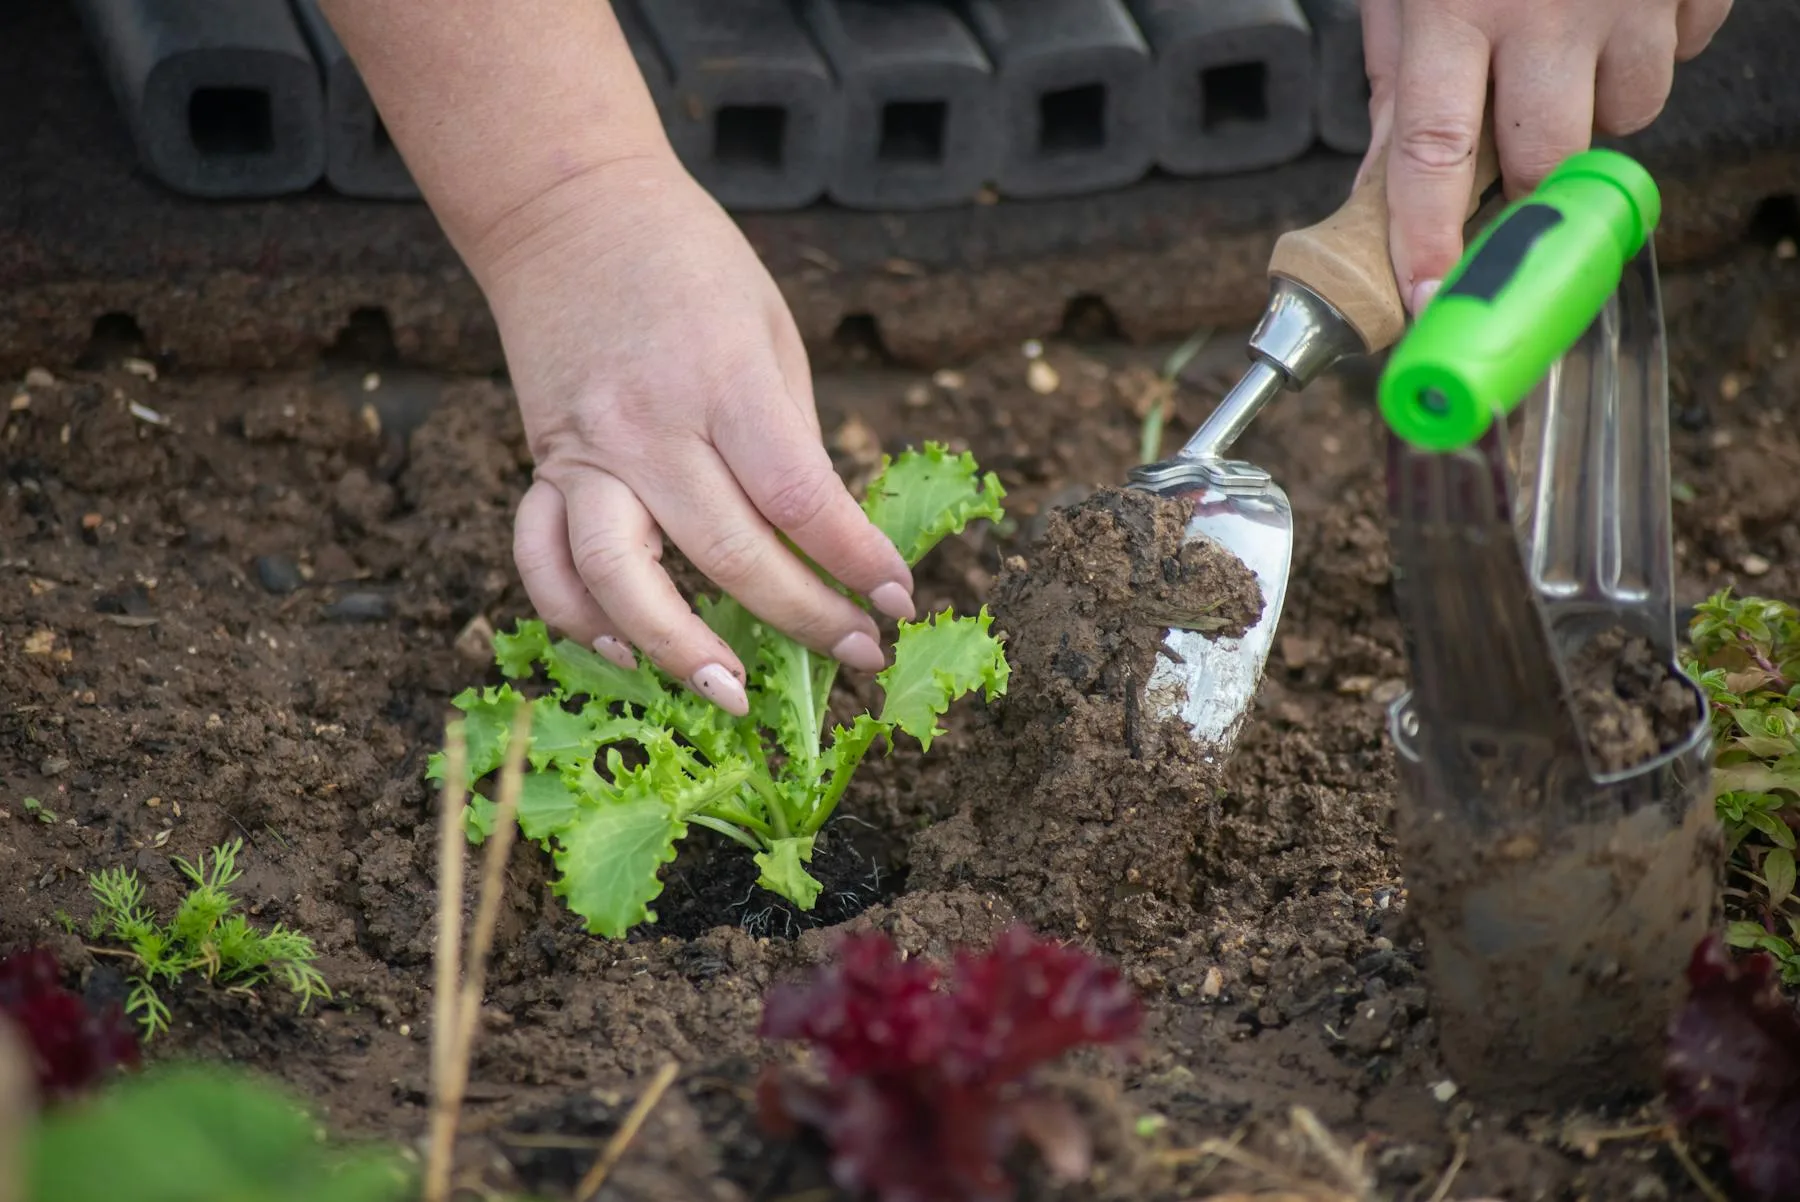
- Lettuce and salad leaves — sow every few weeks from April for a continuous supply. They grow fast, which is encouraging when you’re impatient for results.
- Radishes — ready in about four weeks from sowing. The instant gratification crop.
- Onion sets — push them into the soil in spring, largely ignore them, pull them up in late summer. Very satisfying for minimal effort.
Our guide to the best vegetables for beginners goes into more detail on varieties and timing. Once you’ve got a season under your belt, our month-by-month allotment planting guide will help you plan more ambitiously for year two.
Avoid brassicas (cabbage, broccoli, cauliflower) in your first year — they need netting against pigeons, suffer from club root in untested soil, and take months to produce anything. Asparagus and rhubarb are long-term crops worth planting early, but don’t expect a harvest for a couple of years.
Setting Up Beds and Paths
You’ve got two main approaches to laying out your plot, and both work perfectly well.
Traditional rows — the classic allotment look. Crops in straight rows with paths between them. Simple, flexible, and easy to rotate crops each year. Works best if you have decent soil and good drainage.
Raised beds — increasingly popular, especially on plots with heavy clay or poor drainage. You build wooden frames (scaffold boards are the traditional allotment choice — cheap and sturdy), fill them with a mix of topsoil and compost, and plant into that. Higher upfront cost but less bending, better drainage, and the soil warms up faster in spring. If this appeals, have a look at our raised beds beginner’s guide for the practical details.
Whichever approach you choose, make your paths wide enough to wheel a barrow down. 45-60cm is about right. Woodchip on paths keeps mud at bay and looks tidy — local tree surgeons will often deliver a load for free if you ask nicely.
Composting on Your Allotment
This isn’t optional. It’s the single most valuable thing you can do for your plot long-term. Every weed you pull, every crop that finishes, every kitchen peelings bag you haul down — it all becomes the black gold that feeds next year’s crops.
Build or buy two compost bins. Two, because you need one filling while the other is rotting down. You can make perfectly functional bins from old pallets — four pallets wired together in a square, open at the top. Free and effective.
The basics of allotment composting:
- Green waste (nitrogen-rich): fresh weeds (before they seed), grass clippings, kitchen peelings, coffee grounds, annual crop debris
- Brown waste (carbon-rich): cardboard, dry leaves, woody prunings chopped small, straw, shredded paper
- Mix roughly equal amounts of green and brown, keep it damp but not sodden, turn it occasionally if you can be bothered
Don’t compost perennial weed roots (bindweed, couch grass, dock), diseased plant material, or anything that’s gone to seed unless your heap gets hot enough to kill them — and most allotment heaps don’t. Those go in the council green waste bin.
Our composting beginner’s guide covers the whole process in much more detail if you want to get it right from day one.
Managing Your Time Realistically
The question every new allotment holder asks: how much time does this actually take?
truthfully (and I’m being straight with you here), the first few months are the most labour-intensive. Clearing, digging, building beds, getting everything established — expect to spend a full weekend day there most weeks during spring, plus the odd evening visit for watering.
Once your plot is established, three to four hours a week during the growing season keeps things ticking over. That’s a couple of evening visits for watering and a weekend morning for bigger jobs. Winter drops to an occasional visit for digging, tidying, and planning.
The danger zone is July and August. Everything needs watering, the weeds grow faster than you can pull them, and the beans need picking every two days or they go woody. This is when half of new allotment holders quietly disappear. Plan for it. Set up water butts to collect rainwater. Mulch heavily around plants to reduce watering. And accept that some weeds will win — that’s gardening.
The Allotment Community
One thing you won’t find on the tenancy agreement: allotments are social. Not in a forced, awkward way — more in a “someone will lean over the fence and tell you your onions look good” way. That same someone will probably offer you spare plants, lend you tools, and share the name of the specific manure supplier who delivers the best stuff.
Most sites have a committee, an annual plant sale, maybe a barbecue. Some have communal orchards or wildlife areas. The community is half the reason people stay on their plots for decades.
Take a flask of tea. Say hello to people. Accept the offered seedlings even if you’ve no idea what they are. This is how it works.
Your First Season Timeline
If you’re starting in spring (the ideal time to begin), here’s a rough roadmap:
- March-April — clear your working area, add compost and manure, plant potatoes and onion sets, sow radishes and lettuce direct
- May — sow beans, courgettes, and more salad. Earth up potatoes. Keep on top of weeds while they’re small.
- June-July — water, weed, harvest early potatoes and salad. Sow a second batch of beans and lettuce for autumn.
- August-September — peak harvest. Beans, courgettes, onions, potatoes. Start thinking about what to grow where next year.
- October-November — clear finished crops, add compost to empty beds, plant garlic for next year. Cover bare soil with mulch or green manure.
- December-February — plan, order seeds, repair raised beds, dig over heavy soil if it needs it. Rest.
Frequently Asked Questions
How long is the waiting list for an allotment in the UK? It varies hugely depending on location. Urban areas like London and Bristol can have waits of 2-5 years. Smaller towns and rural areas often have plots available within months. Register with your local council and ask to be added to multiple site waiting lists to improve your chances.
How much does an allotment cost per year? Most allotments in the UK cost between £25 and £100 per year for a full plot (approximately 250 square metres). Half plots are proportionally cheaper. Concessions are usually available for pensioners, disabled gardeners, and people receiving certain benefits.
What is the best time of year to start an allotment? Early spring (March-April) is ideal because you can clear your plot and plant immediately. However, taking on a plot in autumn gives you time to clear ground, improve the soil, and plan your spring planting without the pressure of the growing season.
Can I have a shed on my allotment? Most allotment sites allow small sheds or tool stores, but there are usually size restrictions (commonly no larger than 6ft x 4ft) and you may need approval from the site committee or council before building. Check your tenancy agreement for specific rules.
Do I need to visit my allotment every day? No. During the main growing season, 2-3 visits per week is enough for most plots. In hot, dry weather you may need to water more frequently. Over winter, a fortnightly visit is usually sufficient. Mulching and water butts help reduce the need for constant watering.
The Bottom Line
Starting an allotment is one of those things that seems complicated from the outside but is surprisingly simple once you’re actually doing it. Get on a waiting list. Start small. Grow the easy stuff. Talk to your neighbours. Make mistakes — everyone does, and the soil forgives most of them.
The first potato you dig up, still warm from the earth with dirt clinging to it, will taste better than anything you’ve ever bought. And somewhere around your second season, you’ll catch yourself leaning on your fork, surveying neat rows of beans and onions, wondering why you didn’t do this years ago.
That’s the allotment life. Welcome to it.