You’ve scrolled past another perfectly arranged flat of microgreens on Instagram and thought “I could do that.” Unlike most things on Instagram, you actually can — and it takes about a week from seed to plate. Microgreens are the fastest, simplest, most space-efficient crop you can grow in a UK home. No garden needed. No grow lights needed (though they help). Just a shallow tray, some compost, seeds, and a windowsill. I started growing them on my kitchen counter during a January lockdown, and they’ve been a permanent fixture ever since.
In This Article
- What Microgreens Actually Are
- Why Grow Them
- What You Need to Get Started
- Best Microgreens for Beginners
- Step-by-Step Growing Guide
- Light and Temperature
- Harvesting and Storing
- Common Problems and Fixes
- Growing Without Soil
- Scaling Up
- Frequently Asked Questions
What Microgreens Actually Are
Microgreens are seedlings harvested at the first or second true leaf stage — typically 7-21 days after germination, depending on the variety. They’re bigger than sprouts (which are eaten seed, root, and all within 2-3 days) but smaller than baby salad leaves. You eat the stem and leaves, not the root.
Not Just Tiny Versions of Vegetables
Microgreens are often more intensely flavoured than the mature plant. Radish microgreens taste peppery and sharp. Sunflower microgreens taste nutty and substantial. Pea shoots taste like concentrated garden peas. The RHS vegetable growing guidance lists them as one of the easiest indoor crops for UK growers.
The Nutrition Angle
Research suggests microgreens contain 4-40 times the nutrient density of their mature counterparts, depending on the variety. Red cabbage microgreens, for example, have much higher concentrations of vitamin C and vitamin K than full-grown red cabbage. They’re not a meal replacement — you eat them in small quantities — but as a nutritional boost on salads, sandwiches, and soups, they’re hard to beat.
Why Grow Them
Speed
Most microgreens are ready to harvest in 7-14 days. That’s seed to plate in under two weeks. Nothing else you can grow gives you edible results this fast.
Space
A single 20cm x 30cm tray produces enough microgreens for a week’s worth of garnishing. You can grow them on a windowsill, kitchen counter, or shelf. No garden, no allotment, no raised bed required.
Cost
A 50g packet of microgreen seeds costs £2-5 and produces dozens of trays. A punnet of microgreens from Waitrose or a farmers’ market costs £2-3. You’ll save money from the second tray onwards.
Year-Round Growing
Unlike outdoor crops, microgreens grow indoors all year. UK winters are irrelevant — as long as you have a window and a room above 15°C, they’ll grow. Sow a fresh tray every week for a continuous supply.
What You Need to Get Started
The Essentials
- Shallow tray (5-8cm deep) — purpose-made microgreen trays from Amazon UK (about £8-12 for a set of 5), or repurpose takeaway containers with drainage holes poked in the bottom
- Growing medium — fine-grade multipurpose compost or coir (coconut fibre). Both work. Coir is cleaner and lighter but dries out faster
- Seeds — buy microgreen-specific seed packs (larger quantities, cheaper per gram). Avoid seeds treated with fungicide — check the packet
- Spray bottle — for gentle watering without disturbing seeds
- A bright spot — south-facing windowsill is ideal. East or west works. North-facing is too dim without supplemental light.
Optional but Useful
- Grow light — an LED panel (about £15-30 from Amazon UK) extends your growing season and produces sturdier, more vibrant greens. Essential if you don’t have a sunny windowsill.
- Heat mat — speeds germination in cold rooms. Useful October-March in the UK when windowsill temperatures drop below 15°C overnight.
- Stacking trays — for the blackout/germination phase. A second tray placed upside-down on top works perfectly.
Best Microgreens for Beginners
Start with fast, reliable varieties before experimenting with slower or trickier ones.
Fast and Foolproof (7-10 Days)
- Radish — the fastest. Ready in 5-7 days. Peppery, colourful (especially China Rose and Red Rambo varieties), and almost impossible to fail.
- Rocket — classic peppery flavour. Ready in 7-10 days. Grows well on a windowsill.
- Mustard — spicy and fast. Red mustard adds colour and heat to salads.
- Cress — the original windowsill crop. Ready in 5-7 days. Mild, fresh flavour.
Medium Speed (10-14 Days)
- Pea shoots — nutty, sweet, substantial. Soak seeds overnight before sowing. Produces thick, satisfying stems.
- Sunflower — large, crunchy, nutty flavour. Soak 8-12 hours before sowing. Remove the seed hull before eating (it pops off as the leaf unfurls).
- Broccoli — mild flavour, high nutritional density. Reliable and forgiving.
Slower (14-21 Days)
- Basil — aromatic but slow and temperamental. Needs warmth (20°C+) and patience.
- Beetroot — beautiful deep red stems. Earthy flavour. Slow to germinate — soak 8 hours first.
- Coriander — love-it-or-hate-it flavour. Crush the seed shell before sowing to speed germination.
Step-by-Step Growing Guide
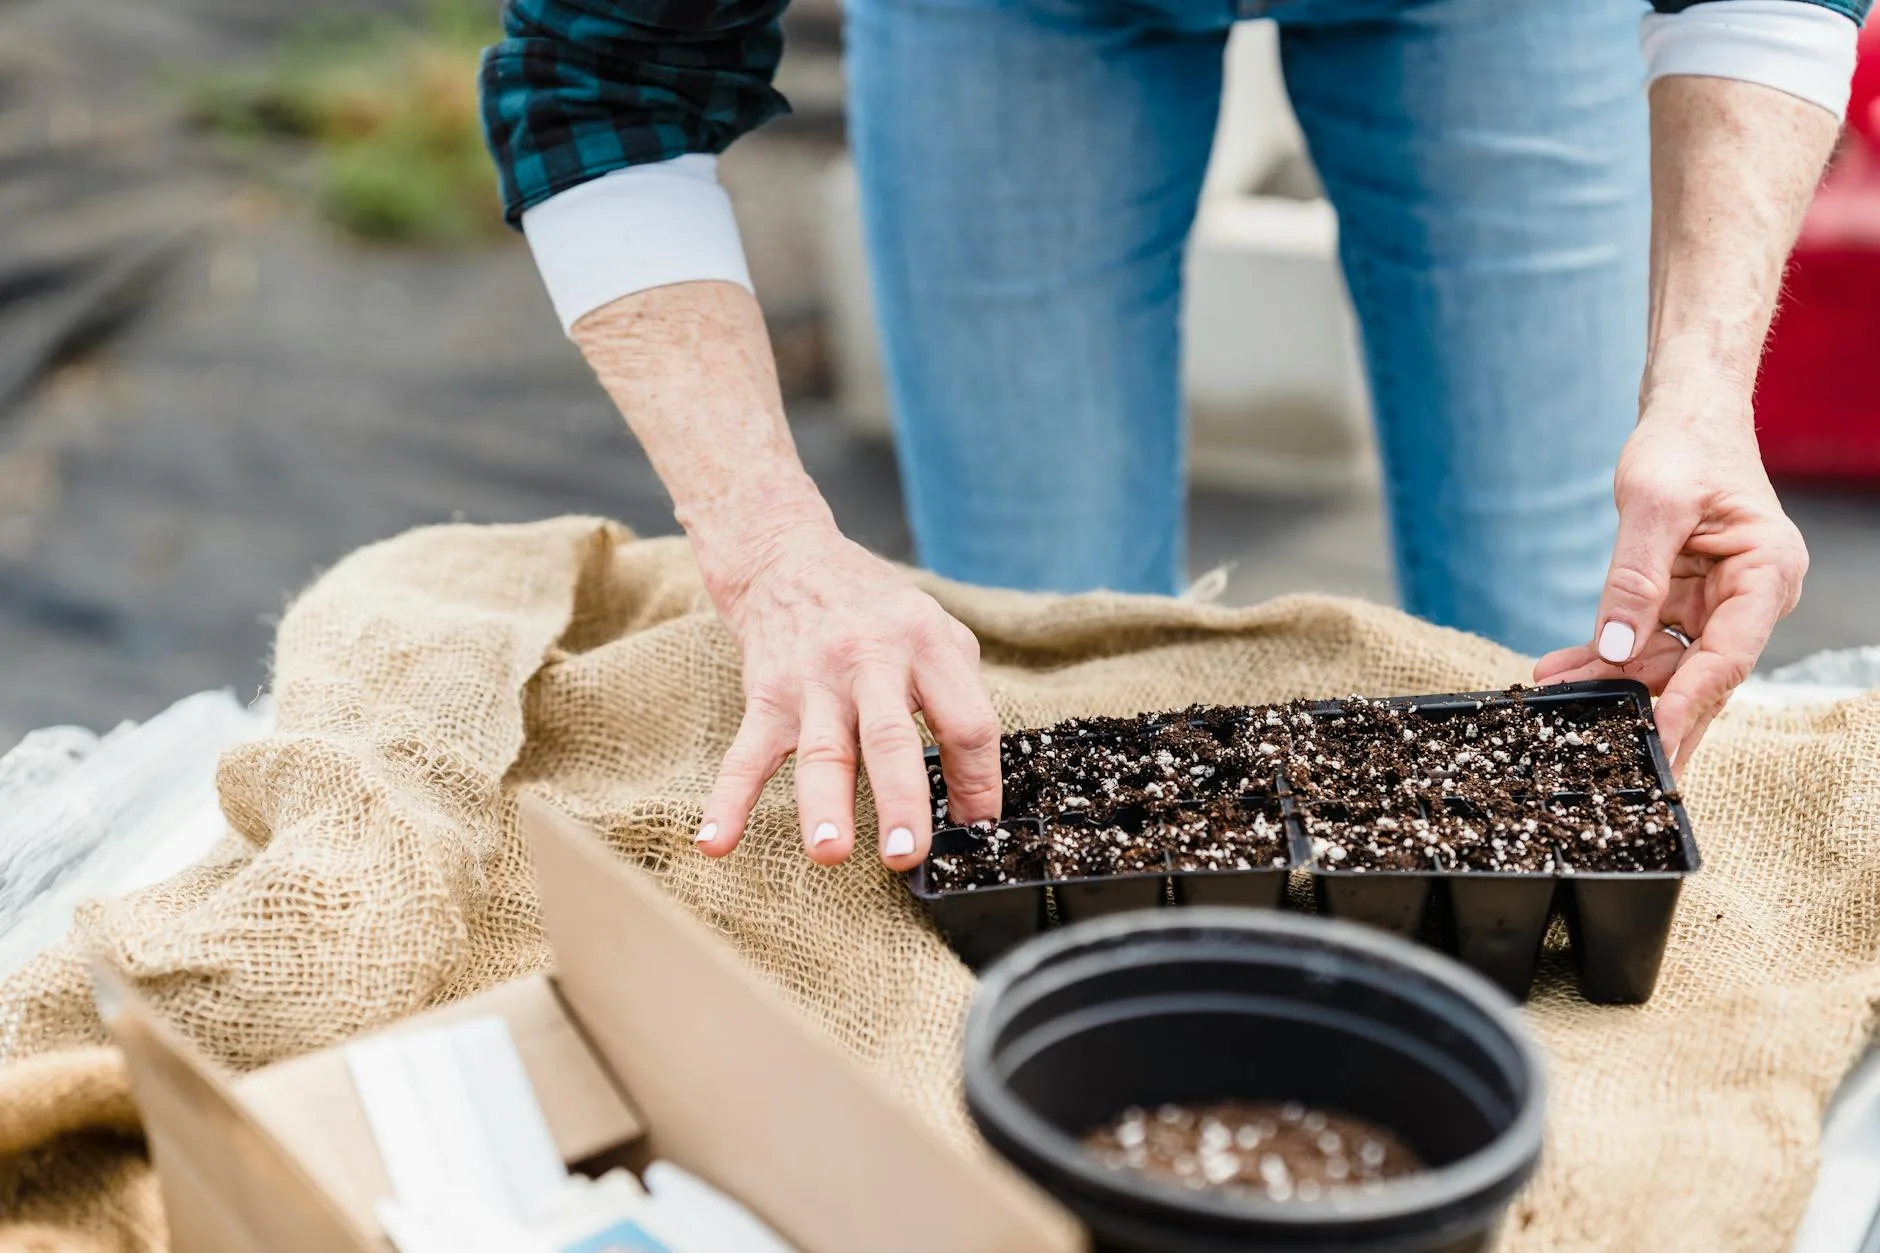
Step 1: Prepare the Tray
Fill your tray to about 3-4cm depth with dampened compost or coir. Level the surface gently — don’t compact it. The medium should be moist but not waterlogged. If you squeeze a handful and water drips out, it’s too wet.
Step 2: Sow Seeds
Scatter seeds densely and evenly across the surface. Microgreens are sown much more thickly than you’d sow in the garden — aim for seeds touching but not overlapping, roughly 10-15 seeds per square centimetre. Don’t bury them. Press gently so they make contact with the surface.
For larger seeds (pea, sunflower, beetroot), pre-soak for 8-12 hours in water before sowing. This softens the seed coat and speeds germination.
Step 3: Cover for Blackout
Place a second tray (or a sheet of card) over the top to block light. This is the blackout phase — it forces the seedlings to stretch upward, giving you longer, more tender stems. Keep covered for 2-4 days, misting daily to keep the surface moist.
Step 4: Uncover and Grow
Once seedlings are 2-3cm tall and pushing against the cover, remove it and move the tray to a bright spot. The pale yellow seedlings will green up within 24-48 hours as chlorophyll kicks in. Continue misting once or twice daily. Don’t let the surface dry out completely, but don’t waterlog it either.
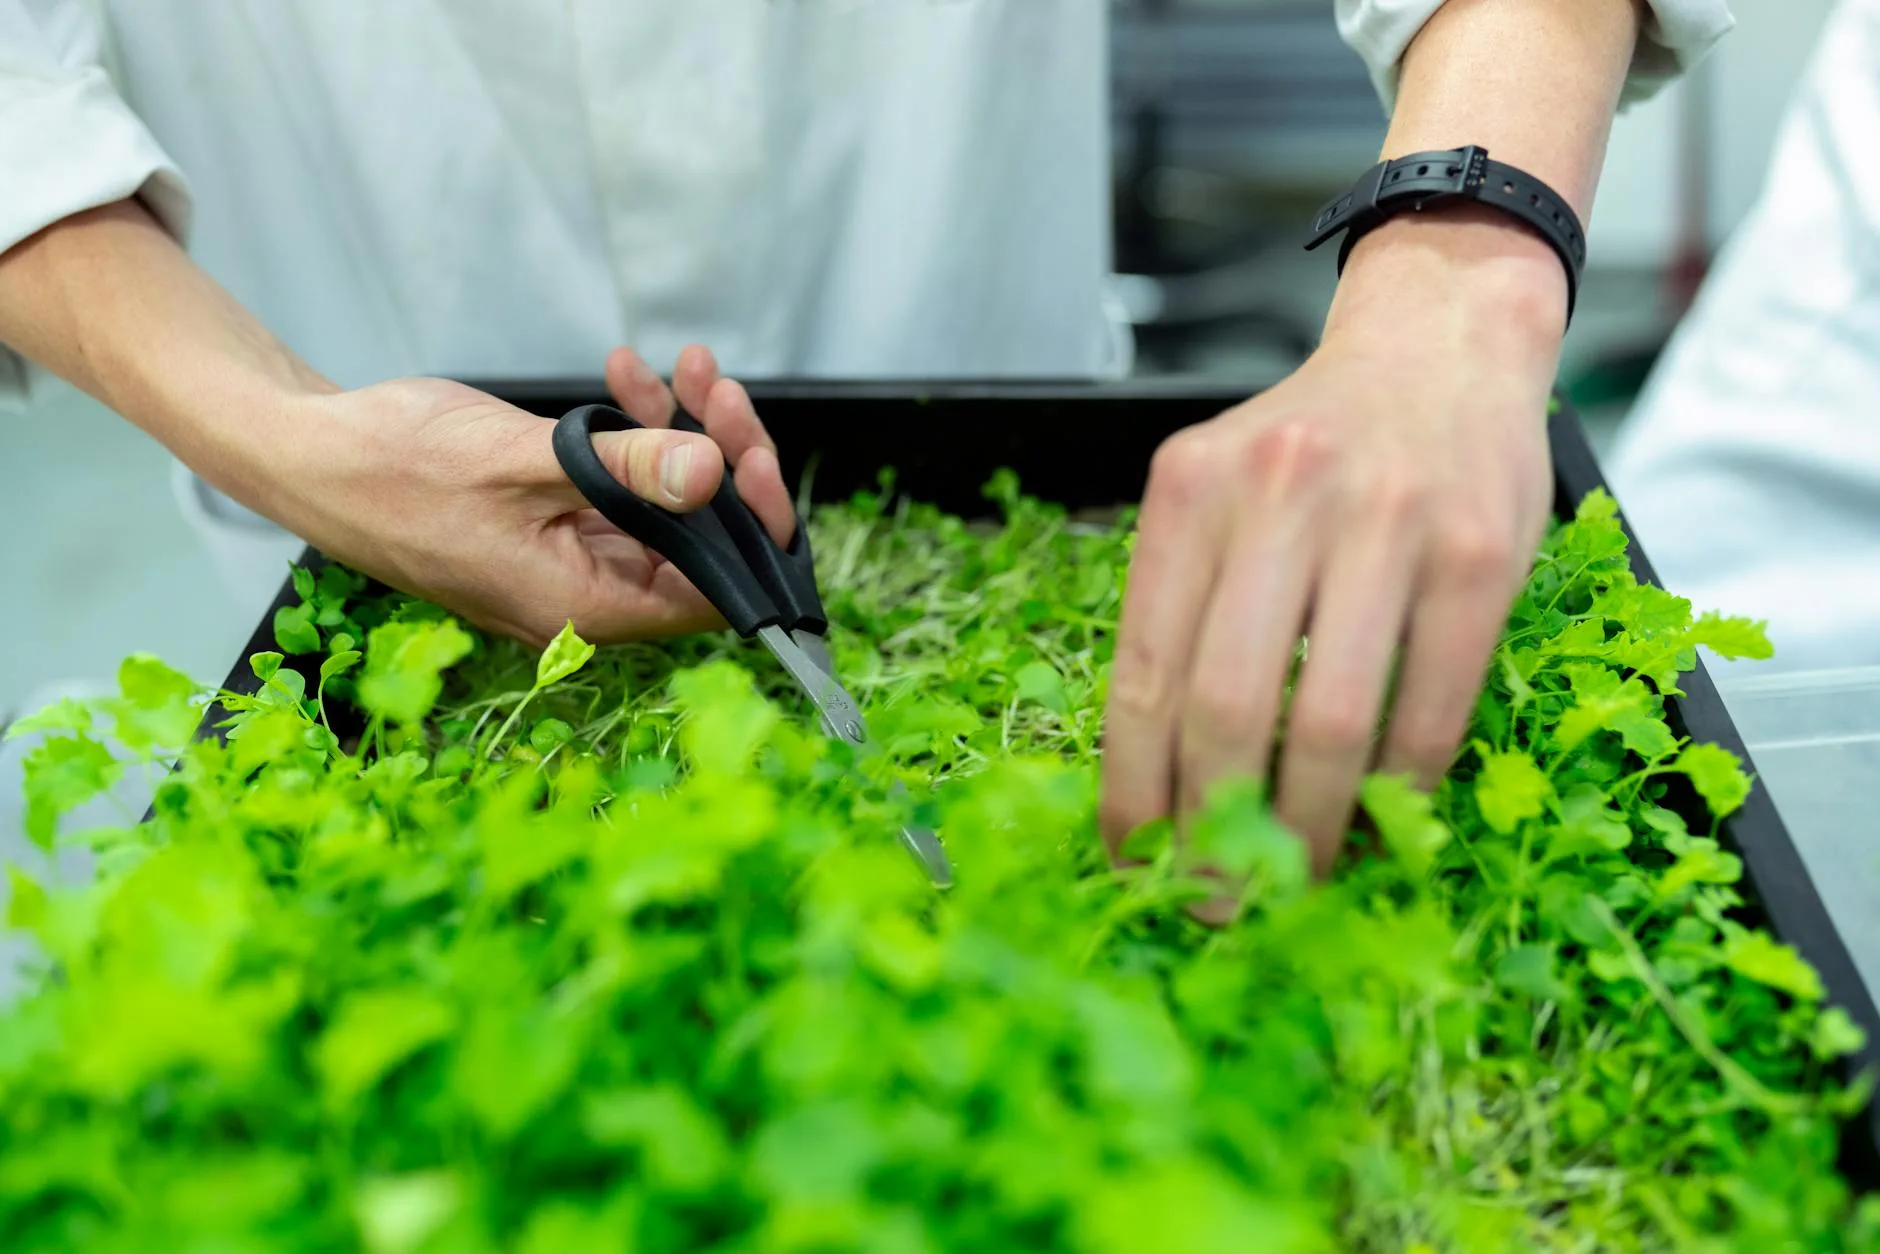
Step 5: Harvest
When the first true leaves appear (the second set of leaves, which look different from the initial seed leaves), they’re ready. Cut with clean scissors just above the soil line. Rinse gently and eat immediately, or store in the fridge. For a related angle, see our Raised Beds for Beginners: Where to Start guide.
Most varieties are ready 7-14 days after sowing, depending on temperature and light. Our seed starting guide covers trays and propagators if you want to scale up.
Light and Temperature
Light Requirements
Microgreens need 4-8 hours of direct or bright indirect light per day after the blackout phase. A south-facing UK windowsill provides this from March to October. In winter (November-February), natural light is often insufficient — greens will be pale, leggy, and lacking flavour.
A basic LED grow light (12-16 hours per day, 15-30cm above the tray) solves the winter problem completely. Full-spectrum LED panels cost £15-30 and use minimal electricity — about 20W, which is roughly £0.01 per hour at current UK rates.
Temperature
Microgreens germinate best at 18-22°C. Below 15°C and germination slows noticeably. Above 25°C and you risk mould. Most UK homes sit in the 18-21°C range, which is perfect. If your windowsill gets cold overnight in winter, move trays to a warmer spot (kitchen counter, top of the fridge) during germination, then back to the windowsill once sprouted.
Harvesting and Storing
When to Harvest
Harvest when the first true leaves have developed — typically 7-21 days depending on variety. The cotyledon (seed) leaves are the rounded first pair. True leaves are the second pair that look like a miniature version of the adult plant. Harvesting at the true leaf stage gives the best balance of flavour, nutrition, and texture.
How to Harvest
Cut stems with clean, sharp scissors about 1cm above the soil line. Don’t pull — this disturbs the roots and brings soil into your food. Harvest the entire tray at once or cut sections as needed over 2-3 days. Our Best Fleece and Cloches 2026 UK: Frost Protection guide is useful alongside this.
Storage
Unwashed microgreens last 5-7 days in the fridge in a sealed container lined with a paper towel (absorbs excess moisture). Washed microgreens last 2-3 days — the moisture accelerates wilting. Harvest fresh whenever possible.
The Taste Test
Microgreens taste best within hours of harvest — the flavour is brightest and the texture crispest. If you’ve only ever had supermarket microgreens (which were harvested days ago and travelled in a plastic box), home-grown ones will taste noticeably more vibrant. Radish microgreens in particular lose their peppery punch within 48 hours of cutting. This is the real argument for growing your own: freshness that no shop can match.
Can You Regrow from the Same Tray?
Most microgreens don’t regrow after cutting — they’re a one-harvest crop. Pea shoots are the exception: cut above the lowest leaf node and they’ll produce a second (weaker) harvest. After harvesting, compost the spent growing medium and start fresh.
Common Problems and Fixes
Mould (White Fuzz)
The most common problem. Caused by poor air circulation, too much moisture, or seeds sown too thickly. Fix: improve ventilation (a small fan on low, pointed near the trays), reduce watering, and sow slightly less densely. A light dusting of cinnamon powder on the surface has antifungal properties — old-school but it works.
Leggy, Pale Greens
Not enough light. Move to a brighter spot or add a grow light. Leggy microgreens are still edible but have weaker flavour and floppier stems.
Uneven Germination
Usually caused by uneven moisture distribution or old seeds. Mist more evenly, use fresh seeds (check the date on the packet), and ensure the surface is level before sowing.
Seeds Not Germinating
Too cold, too dry, or old seeds. Check room temperature is above 15°C, ensure the surface stays moist (not wet), and buy fresh seeds from a reputable supplier (Nicky’s Nursery, Organic Gardening Catalogue, and Kings Seeds all sell reliable microgreen seed in the UK). We cover a similar decision in How to Grow Raspberries: Summer & Autumn Fruiting.
Growing Without Soil
Coir Mats
Pre-cut coconut fibre mats fit standard microgreen trays. Cleaner than loose compost, no mess, and easy to compost after use. About £8-12 for 10 mats from Amazon UK. Sow directly onto the dampened mat.
Hemp or Jute Mats
Similar to coir but made from hemp or jute fibre. Fully biodegradable. The texture holds moisture well and seeds root into the fibres. A good option if you want a plastic-free grow.
Kitchen Paper
In a pinch, 3-4 layers of kitchen paper in a tray works for fast-growing varieties like cress and mustard. It dries out quickly and doesn’t support longer-growing varieties well, but it’s free and gets you started tonight.
Scaling Up
If one tray on the windowsill isn’t enough, scaling up is simple and cheap.
The Rotation System
Sow a new tray every 3-4 days. By the time tray one is harvested (day 10-14), trays two, three, and four are at different growth stages, giving you a continuous supply. Four trays on rotation produces more microgreens than most families can eat.
Shelving with Lights
A small wire shelving unit (about £20-30 from B&Q or Amazon UK) with LED grow lights on each shelf lets you grow 8-12 trays in the space of a single kitchen shelf. This is how small-scale commercial microgreen growers operate — many UK farmers’ market sellers started exactly this way in a spare bedroom. Total setup cost: about £60-80 for the shelf, lights, and trays. You’ll recoup the investment within a month if you currently buy microgreens from shops, and the quality of home-grown far exceeds anything in a plastic punnet. Our guide to composting covers what to do with the spent growing medium — it’s excellent compost material.
Frequently Asked Questions
Are microgreens easy to grow at home? Very. They’re one of the simplest crops you can grow — no garden needed, no special equipment beyond a tray and seeds. Most varieties are ready in 7-14 days. Start with radish or cress for the fastest, most reliable results.
Do microgreens need sunlight? They need 4-8 hours of bright light after the initial blackout phase. A south-facing windowsill works from March to October. In winter, a cheap LED grow light (about £15-30) provides sufficient light. They’ll grow without supplemental light but will be pale and leggy.
How often do you water microgreens? Mist once or twice daily with a spray bottle — enough to keep the growing surface moist but not waterlogged. Overwatering causes mould, which is the most common problem. Good air circulation helps prevent moisture issues.
Can you eat microgreens raw? Yes. Microgreens are typically eaten raw as a garnish, salad ingredient, or sandwich topping. They can also be added to soups, stir-fries, and smoothies, though cooking reduces their nutritional value. Rinse gently before eating.
What are the healthiest microgreens to grow? Broccoli, red cabbage, and radish microgreens rank highest for nutrient density, with concentrated levels of vitamins C, K, and E. Sunflower microgreens are high in protein for a plant source. All microgreens are nutritionally dense compared to their mature counterparts.